„Ulecoce“ priekinių durų spynų komplekto naudojimo instrukcija
Model: ZD-U-01
Įvadas
Thank you for choosing the Ulecoce Front Door Lock Set. This manual provides detailed instructions for the installation, operation, and maintenance of your new door lock. Please read this manual thoroughly before beginning installation to ensure proper function and safety. Keep this manual for future reference.
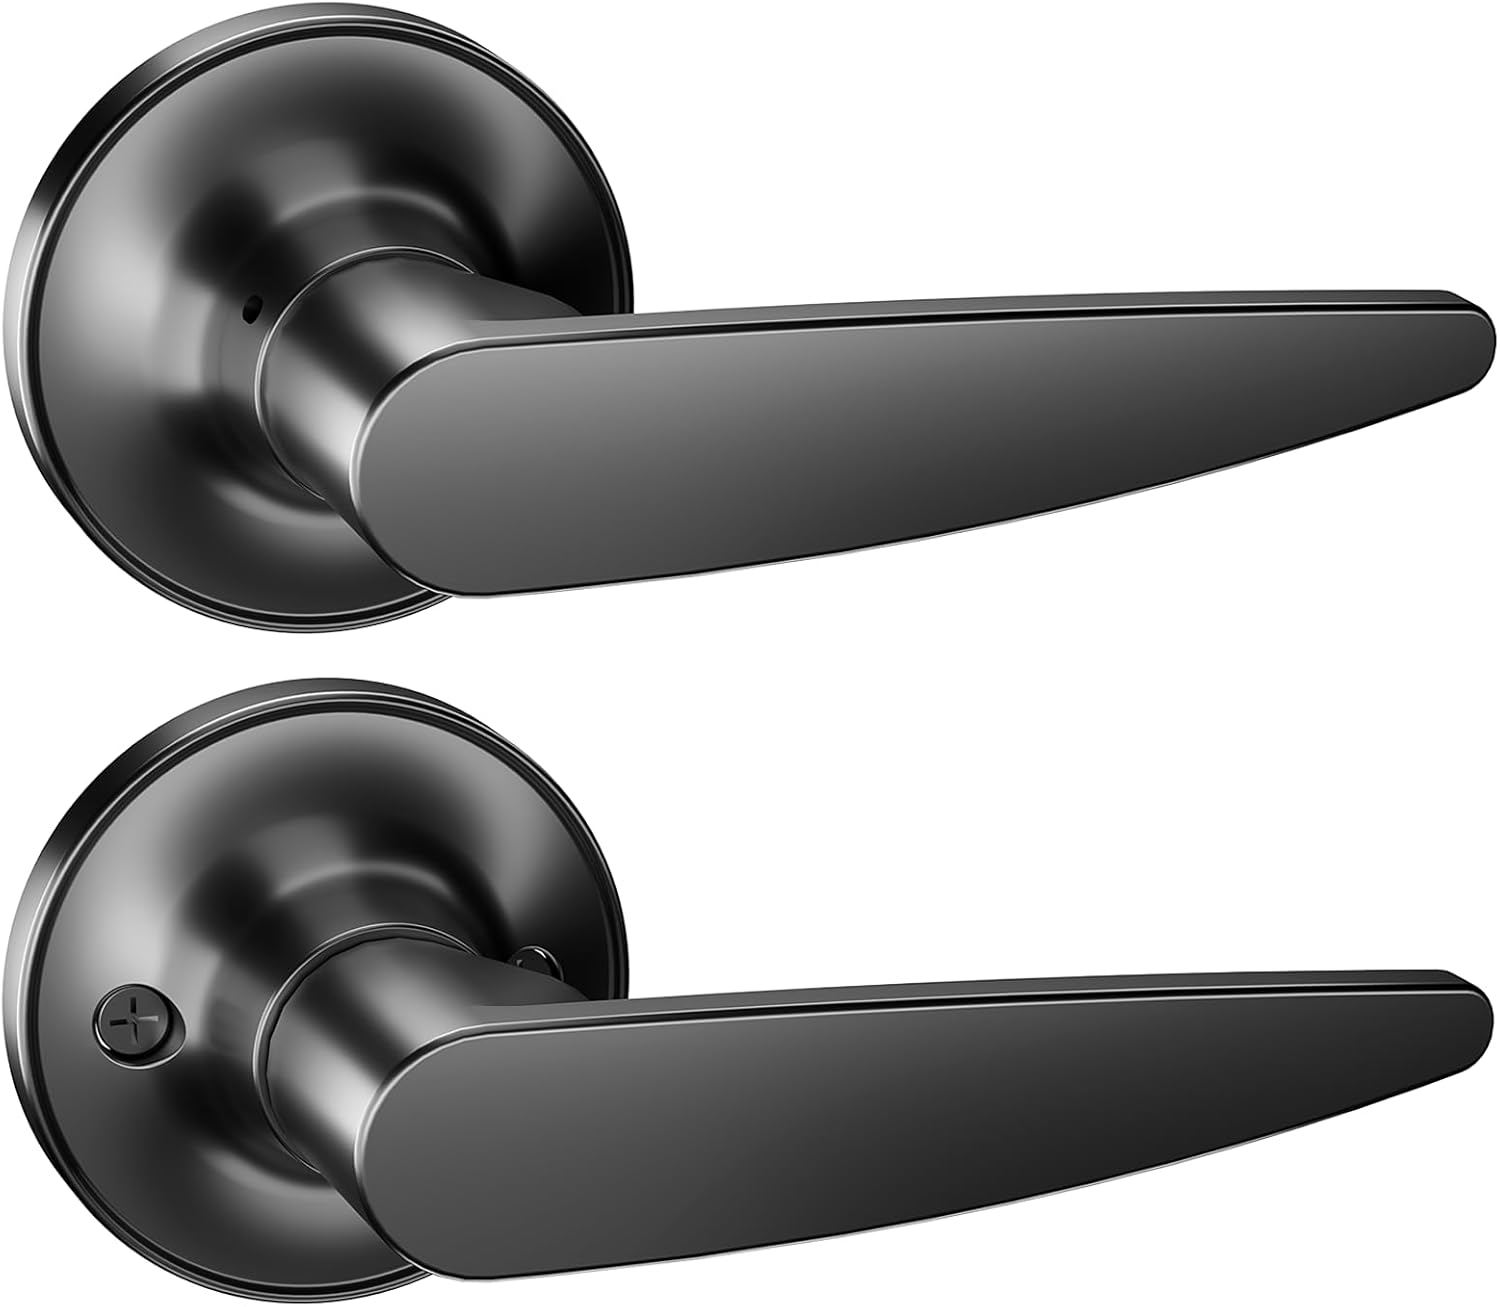
Image: The Ulecoce Front Door Lock Set, featuring two sleek black door handles.
Pakuotės turinys
Before installation, please verify that all components are present and undamaged:
Image: An illustration highlighting the key features and components of the Ulecoce door lock set, including installation hardware.
Sąranka ir diegimas
Before you begin, ensure you have the necessary tools: Phillips head screwdriver, tape measure, pencil, and a drill (if creating new holes).
Diegimo žingsniai:
Paruoškite duris: If replacing an existing lock, remove the old hardware. Ensure the door has standard bore holes (typically 2-1/8 inches for the lock body and 1 inch for the latch).
Įdiekite užraktą: Insert the latch into the edge bore hole of the door. Ensure the latch bolt faces the correct direction (beveled edge towards the door frame). Secure with screws.
Išorinio mazgo įrengimas: Place the exterior knob/lever assembly through the larger bore hole, ensuring the spindle aligns with the latch mechanism.
Sumontuokite vidinį mazgą: Position the interior knob/lever assembly over the spindle and align the mounting posts with the holes on the exterior assembly.
Secure the Assemblies: Fasten the interior and exterior assemblies together using the provided mounting screws. Do not overtighten; ensure the lock operates smoothly.
Įdiekite apsauginę plokštę: On the door frame, align the strike plate with the latch bolt and secure it with screws. Ensure the latch bolt fully extends into the strike plate when the door is closed.
Bandomoji operacija: Close the door and test the lock's operation from both the interior and exterior. Ensure the latch retracts and extends smoothly, and the lock engages properly.
For visual guidance, refer to the installation diagrams typically found on the product packaging or a dedicated installation guide.
Image: Ulecoce lock installed on an orange door.
Image: Ulecoce lock installed on a blue door.
Image: Ulecoce lock installed on a white door.
Naudojimo instrukcijos
Durų užrakinimas:
Iš vidaus: Rotate the thumb-turn or push the button on the interior knob/lever to engage the lock.
Iš išorės: Insert the key into the keyway and turn it to engage the lock. Remove the key.
Durų atrakinimas:
Iš vidaus: Rotate the thumb-turn or push the button on the interior knob/lever to disengage the lock. Turn the knob/lever to open the door.
Iš išorės: Insert the key into the keyway and turn it to disengage the lock. Turn the knob/lever to open the door.
Ensure the door is fully closed before attempting to lock it.
Priežiūra
Regular maintenance helps ensure the longevity and smooth operation of your Ulecoce Front Door Lock Set.
Valymas: Wipe the lock set with a soft, damp šluoste. Venkite abrazyvinių valiklių, tirpiklių ar stiprių cheminių medžiagų, nes jos gali pažeisti apdailą.
Tepimas: Periodically apply a small amount of graphite lubricant or a silicone-based spray to the keyway and latch mechanism to ensure smooth operation. Do not use oil-based lubricants as they can attract dirt.
Patikrinimo varžtai: Occasionally check and tighten any loose mounting screws to prevent wobbling and ensure secure installation.
Patikrinkite, ar nėra nusidėvėjimo: If you notice any significant wear, damage, or difficulty in operation, consider contacting customer support for assistance or replacement.
Trikčių šalinimas
Problema
Galima priežastis
Sprendimas
Key is difficult to turn or remove.
Dirt in keyway, worn key, or misaligned cylinder.
Apply graphite lubricant to keyway. Try a spare key. Check for proper alignment during installation.
Latch bolt does not retract or extend smoothly.
Misalignment with strike plate, dirt in mechanism, or loose screws.
Check strike plate alignment. Clean and lubricate the latch mechanism. Tighten mounting screws.
Durys netinkamai užsidaro arba užsirakina.
Door frame or door itself has shifted, strike plate misalignment.
Adjust the strike plate position. Check door hinges for looseness.
Knob/lever is loose or wobbly.
Atsilaisvinę tvirtinimo varžtai.
Priveržkite visus matomus tvirtinimo varžtus.
Specifikacijos
Prekės ženklas
Ulecoce
Modelio numeris
ZD-U-01
Spalva
Juoda
Gaminio matmenys
1"L x 1"W (Note: This might be a placeholder or simplified dimension, actual product dimensions may vary for full assembly)
Rankenos tipas
Rankenėlė / svirtis
Įtraukti komponentai
Diegimo aparatinė įranga
Prekės svoris
1 svaras
UPC
768383681161
Garantija ir palaikymas
Ulecoce products are designed for durability and reliability. For specific warranty information, please refer to the warranty card included with your product or visit the official Ulecoce websvetainę.
If you encounter any issues or have questions regarding your Front Door Lock Set, please contact Ulecoce Customer Support:
El. paštas: Žiūrėkite produkto pakuotę arba oficialų websvetainė kontaktiniam el. paštui.
Telefonas: Žiūrėkite produkto pakuotę arba oficialų websvetainė su kontaktiniu telefono numeriu.
Please have your model number (ZD-U-01) and purchase date ready when contacting support.
Susiję dokumentai - ZD-U-01
Ulecoce U68 Keyless Entry Door Lock Installation Manual Comprehensive installation, programming, and usage guide for the Ulecoce U68 Keyless Entry Door Lock with Handle Set, featuring WiFi, app control, and keypad access. Includes step-by-step instructions, troubleshooting, and safety information.
Ulecoce U18 Keyless Entry Door Lock Installation Manual Comprehensive installation, usage, and programming guide for the Ulecoce U18 Keyless Entry Keypad Deadbolt with Handle Set. Includes step-by-step instructions, troubleshooting, and safety information.
„Ulecoce U68“ klaviatūros užrakto montavimo vadovas Comprehensive installation manual for the Ulecoce U68 Keypad Deadbolt, covering door preparation, latch installation, exterior and interior assembly, and testing. Includes programming instructions, troubleshooting tips, and safety warnings.
Ulecoce Fingerprint Keypad Deadbolt Quick Set Up Guide Concise guide for setting up your Ulecoce Fingerprint Keypad Deadbolt, covering administrator password management, user code management, system settings, and factory reset.