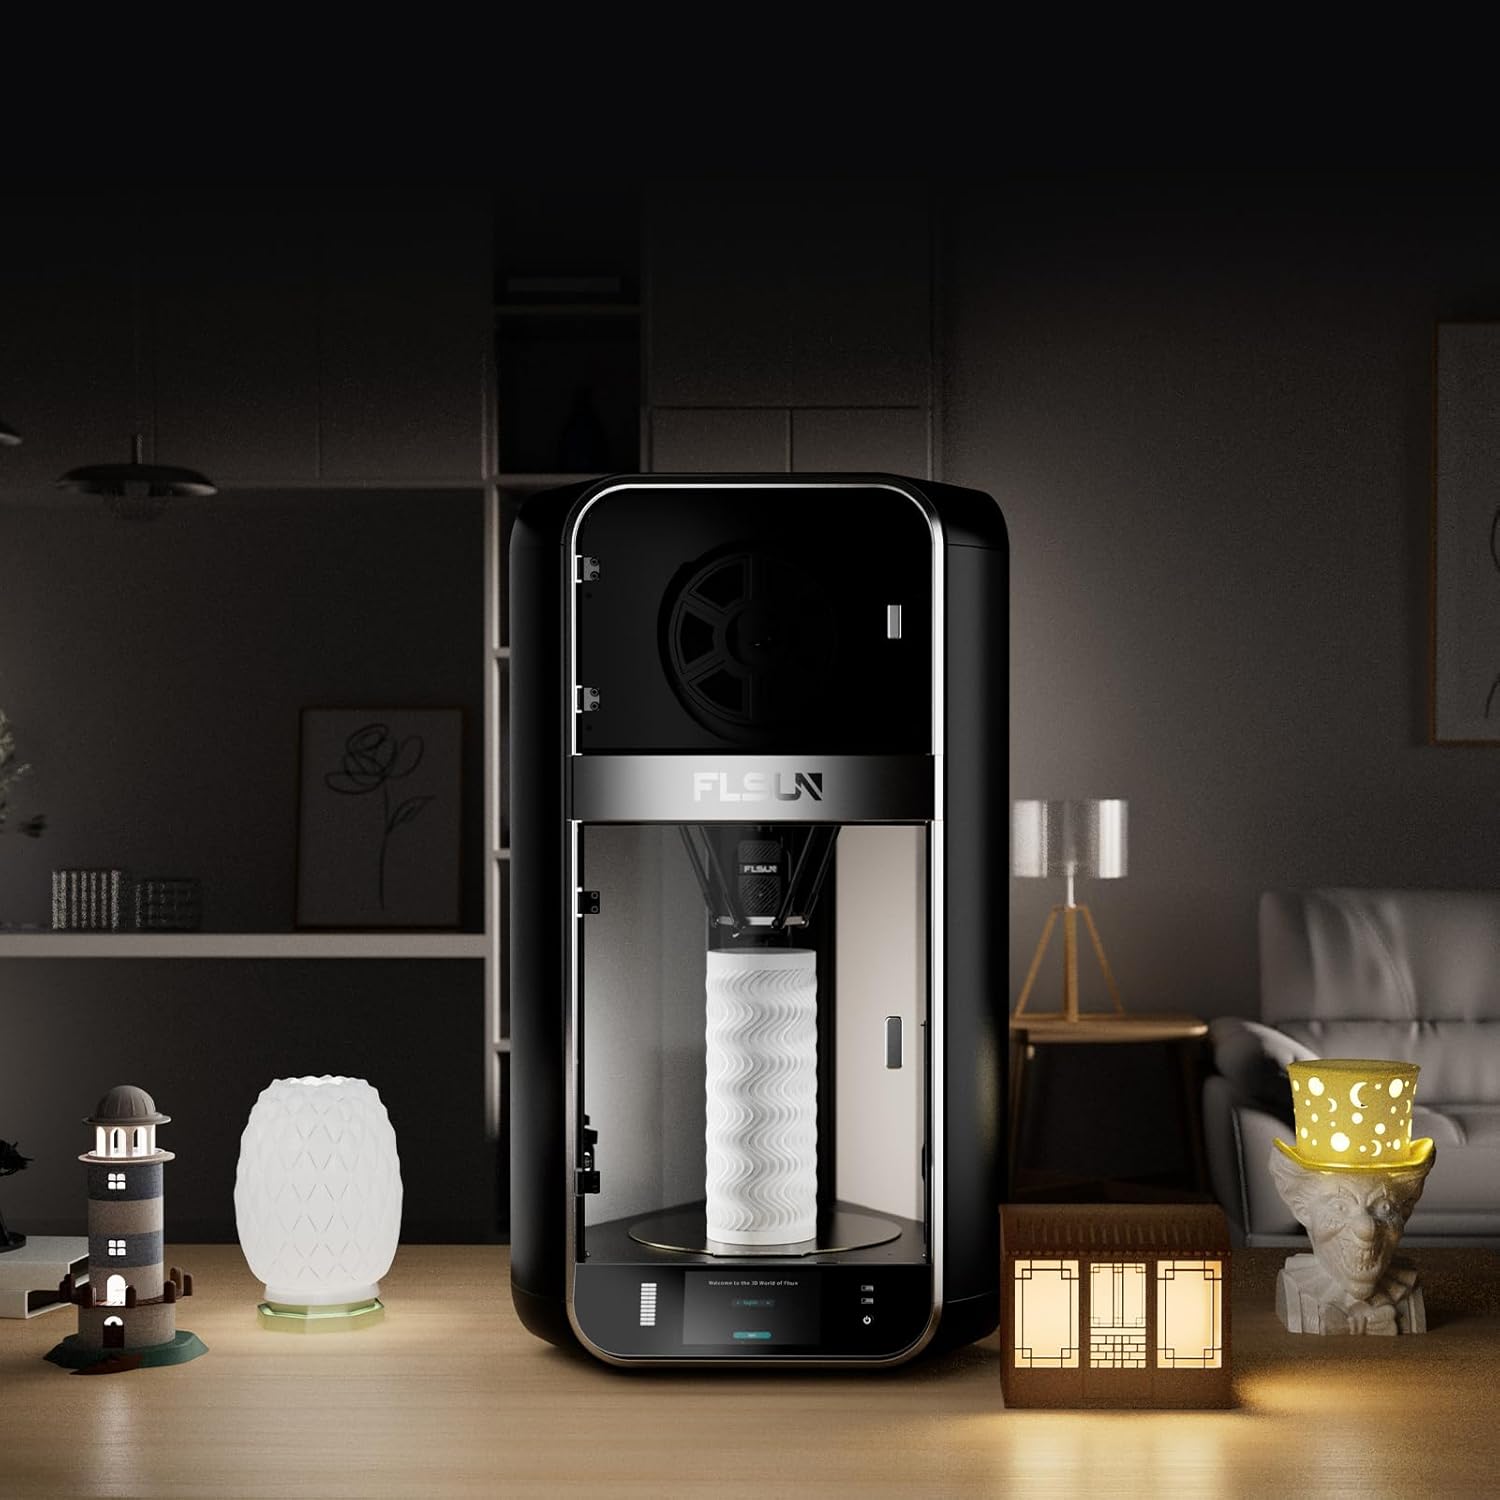
1. Introduction to FLSUN S1
The FLSUN S1 is a state-of-the-art 3D printer designed for high-speed and high-quality FDM printing. Featuring a stable Delta structure and advanced intelligent monitoring, it offers an exceptional printing experience right out of the box.

Figure 1.1: FLSUN S1 3D Printer Overview
2. Sąranka ir pirmasis naudojimas
The FLSUN S1 is designed for quick and easy setup, allowing you to begin printing within minutes of unboxing. The machine comes fully assembled, requiring minimal user intervention.
2.1 Išpakavimas ir įdėjimas
Carefully remove the printer from its packaging. Ensure it is placed on a stable, level surface with adequate space around it for operation and ventilation. Verify all components are present as listed in the packing guide.
2.2 Automatinis niveliavimas
The FLSUN S1 features an advanced FLSUN 2.0 algorithm for fully automatic one-button leveling. This simplifies the bed calibration process significantly.
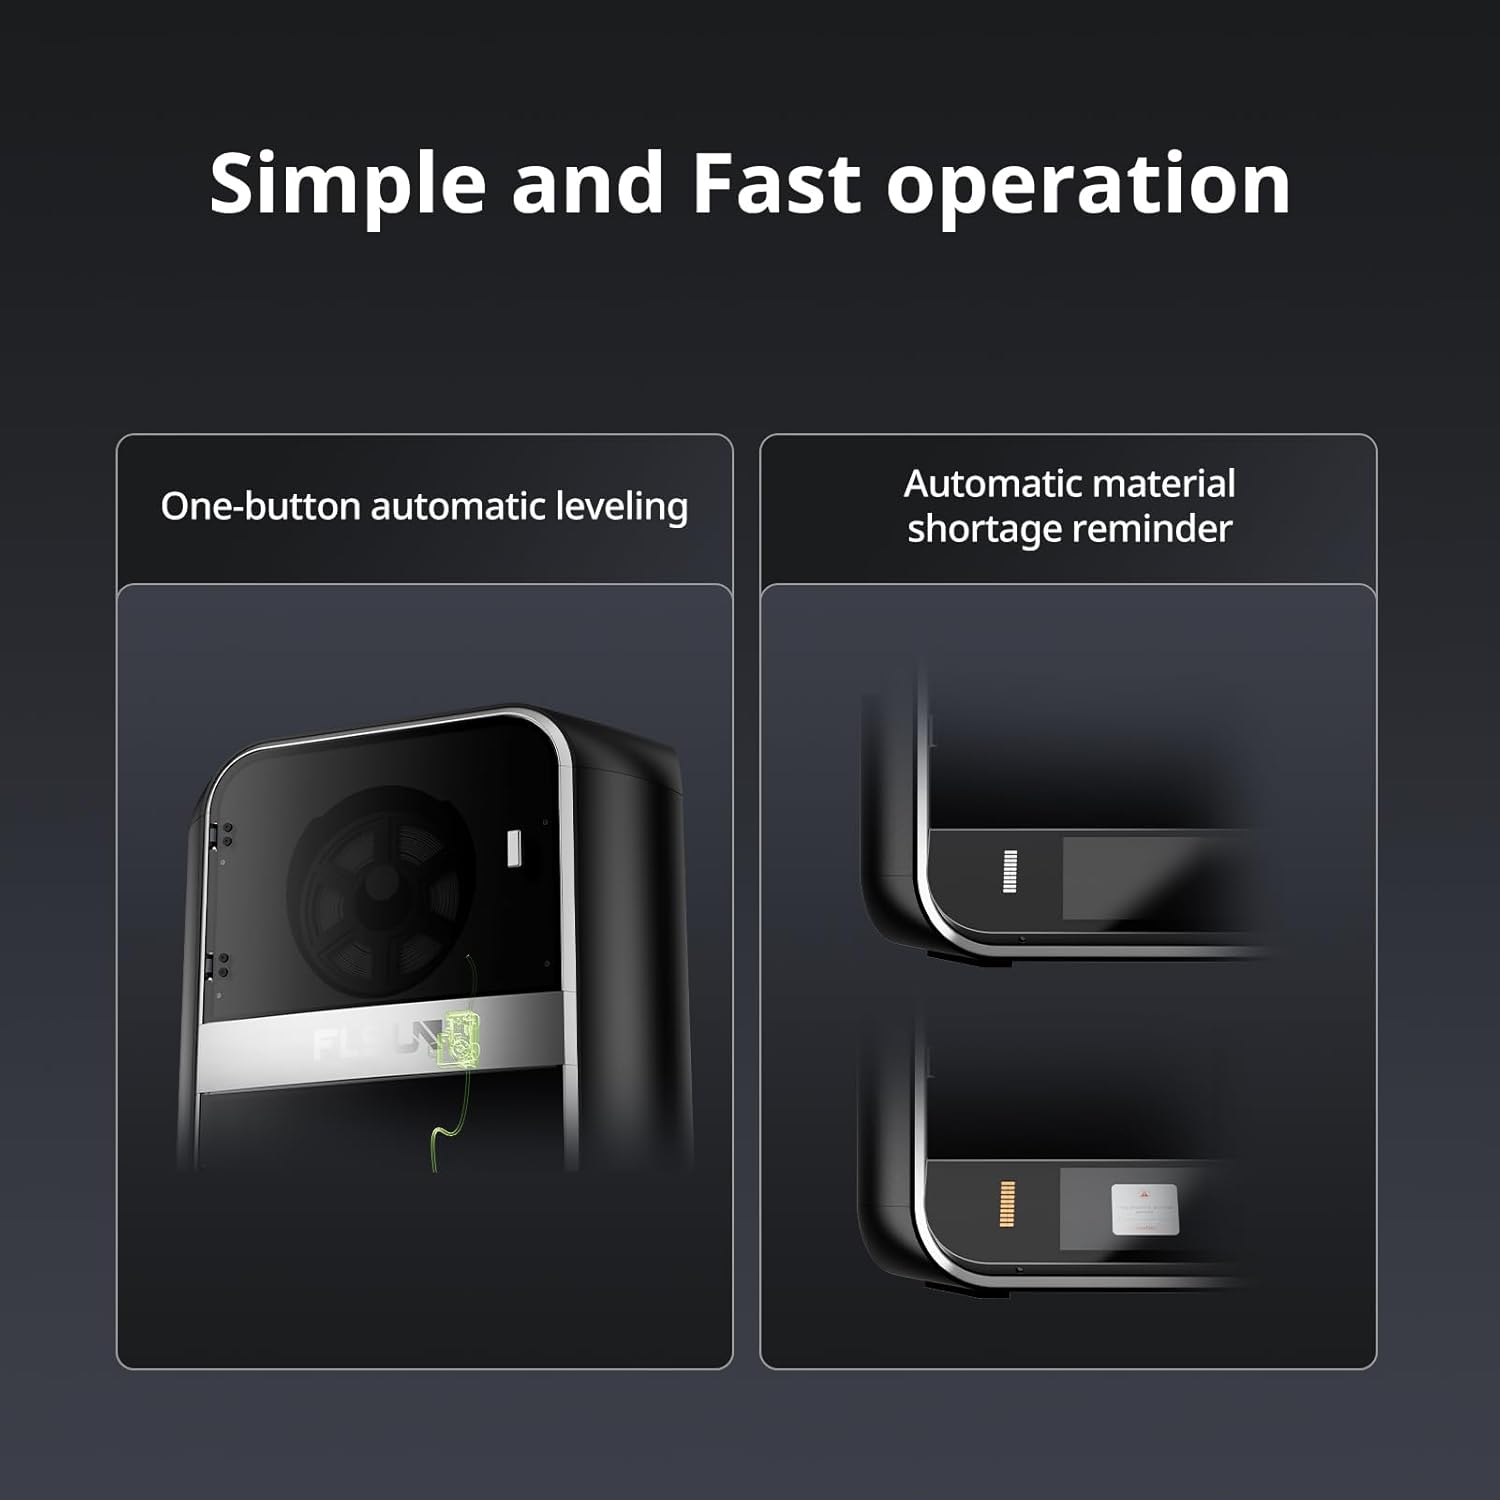
Figure 2.1: One-button automatic leveling and material shortage priminimas.
- Įjunkite spausdintuvą.
- Navigate to the leveling option on the touchscreen interface.
- Initiate the automatic leveling process. The printer will perform a series of measurements to calibrate the print bed.
- Follow any on-screen prompts to finalize the leveling, including Z-height adjustment if necessary.
Išsamias diegimo instrukcijas rasite oficialiame Montavimo vadovas (PDF).
3. Operating Your FLSUN S1
The FLSUN S1 is engineered for high-performance printing, offering impressive speed and precision.
3.1 Didelės spartos spausdinimo galimybės
Experience rapid prototyping and production with the FLSUN S1's impressive speed and acceleration.
- Maksimalus spausdinimo greitis: Iki 1200 mm/s
- Maksimalus pagreitis: Up to 40000mm/s²
- Maksimalus srautas: 110 mm³/s

Figure 3.1: High-speed printing metrics of the FLSUN S1.
Video 3.1: Official FLSUN video demonstrating ultra high-speed printing capabilities of the S1 printer.
Video 3.2: Official FLSUN video showcasing the Delta high-speed printing in action.
3.2 Advanced Extruder and Cooling System
The FLSUN S1 features a dual-gear direct-drive extruder with a titanium alloy core wheel, enabling printing at temperatures up to 350°C. The newly printed model is rapidly cooled by a CPAP turbo fan, achieving a single-layer cooling time of 1 second at 40000 rpm/min, which helps prevent warping and drawing.

Figure 3.2: Temperature capabilities for multi-consumable printing.
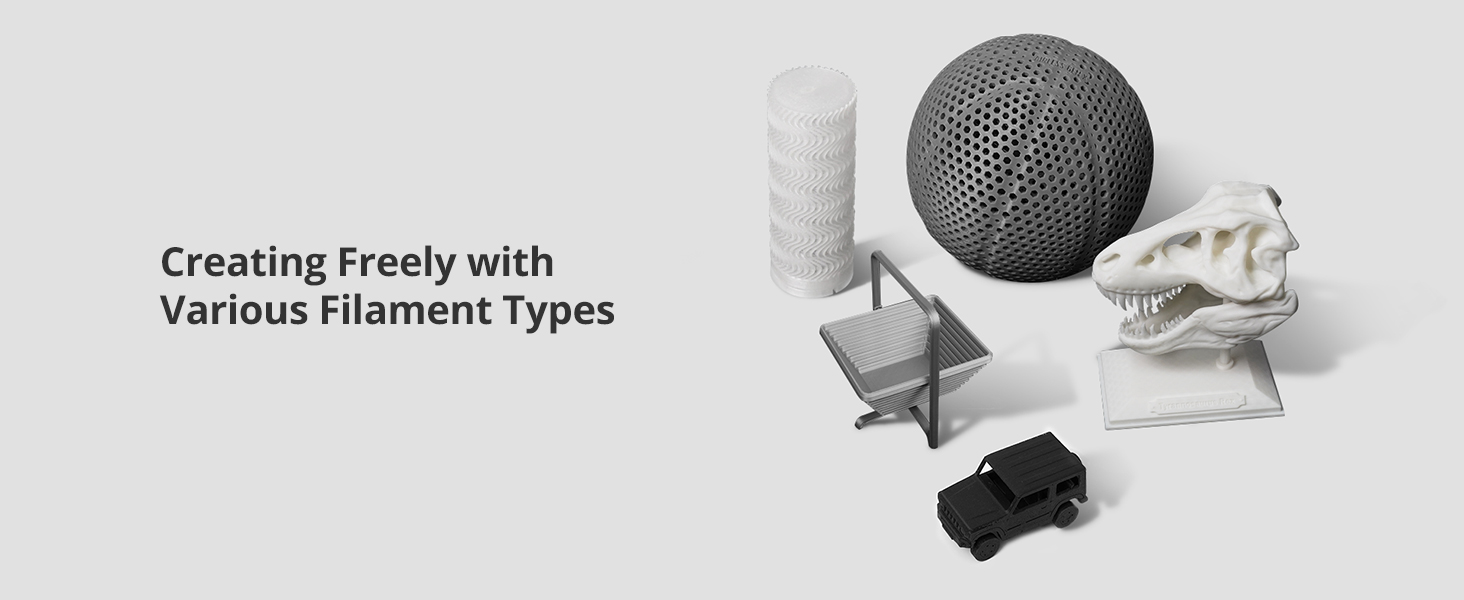
Figure 3.3: CPAP High-Pressure Turbo Fan for efficient cooling.
3.3 Intelligent Monitoring and Control
The FLSUN S1 integrates advanced monitoring and control features for enhanced print quality and user convenience.
- AI kamera: Monitors for issues like spaghetti failures and foreign objects, providing real-time alerts and supporting time-lapse photography.
- Microtac Radar Control: Ensures precise control and monitoring.
- WIFI ryšys: Allows for real-time monitoring and intelligent adjustment via mobile phone or PC.
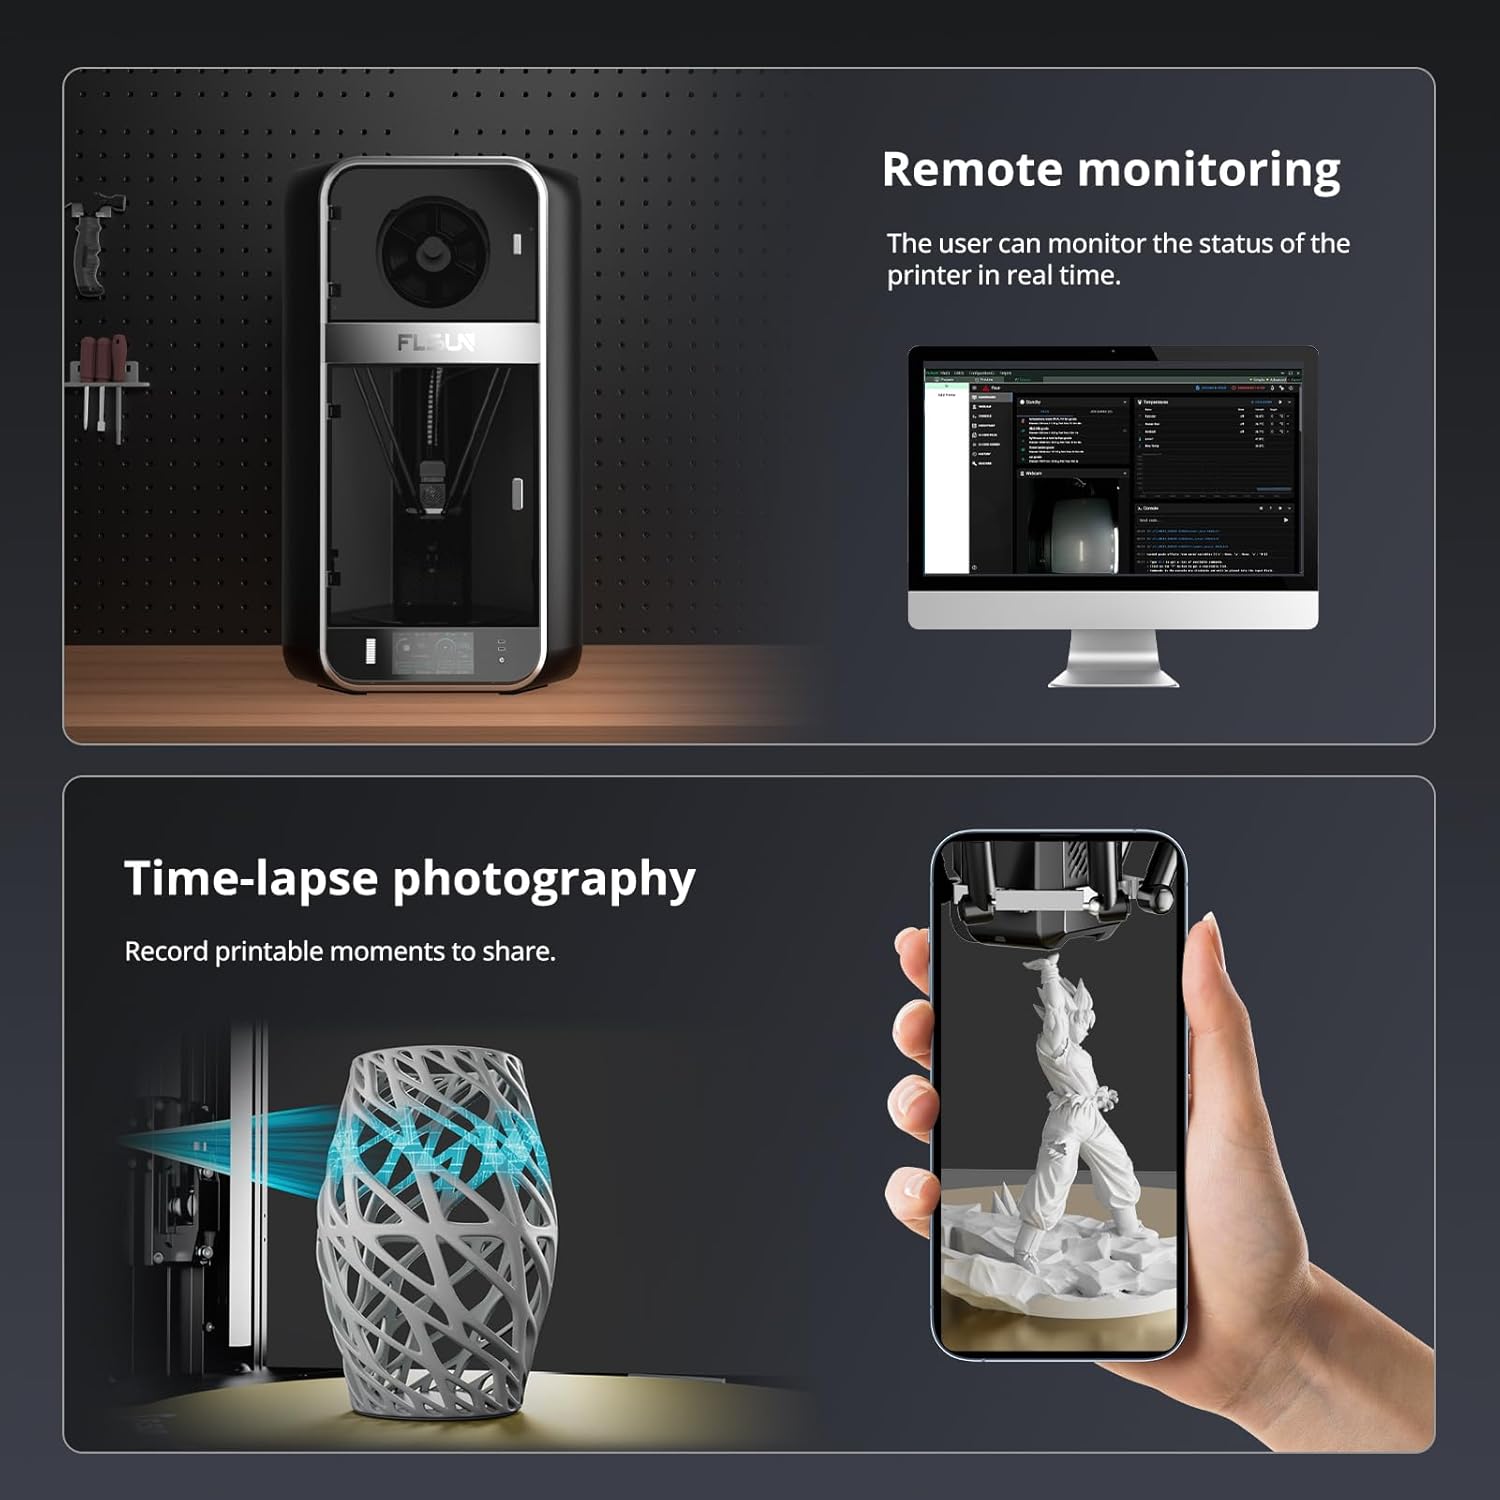
Figure 3.4: Remote monitoring and time-lapse photography features.

Figure 3.5: Comprehensive monitoring and upgrade methods.
3.4 Large Build Volume and Material Compatibility
The FLSUN S1 offers a generous build volume and supports a wide array of filament types.
- Sukūrimo tūris: 13" x 13" x 17" (approximately 320mm x 320mm x 430mm), allowing for multiple models or large single prints.
- Palaikomos medžiagos: PLA, PETG, TPU, ABS, ASA, PA, PC, PET, and more.

Figure 3.6: Fully enclosed delta structure with large build volume.
3.7 pav. Pvzamples of models printed with various filament types.
4. Priežiūra
Regular maintenance ensures the longevity and optimal performance of your FLSUN S1 3D Printer.
4.1 Spausdinimo platformos valymas
To maintain good filament adhesion, regularly clean the print bed with isopropyl alcohol to remove any fingerprints, dust, or debris. This should be done after several prints or if adhesion issues arise.
4.2 Lubrication of Moving Parts
Periodically re-lubricate the smooth rods and other moving mechanical components with a suitable dry lubricant (e.g., PTFE spray) to ensure smooth operation and reduce noise.
4.3 Purkštukų ir karštųjų paviršių priežiūra
The nozzle is a consumable part and will degrade over time. Replace the nozzle or the entire hotend assembly when print quality deteriorates. Consider upgrading to a full E3D V6 hot-end assembly for enhanced performance and durability. It is also recommended to upgrade the Bowden PTFE tube to a Capricorn tube for better heat resistance, especially when printing at higher temperatures, to prevent carbonization and fume exposure.
5. Įprastų problemų šalinimas
This section addresses some common issues users might encounter and provides potential solutions.
5.1 Print Quality Issues (e.g., "Salmon Skin")
If you observe wavy outer walls or a "salmon skin" effect on your prints, this can be caused by stepper motor drivers. Installing 8-diodes TL-smoothers can mitigate this issue by preventing power feedback to the drivers.
5.2 Extruder Calibration (E-steps)
For optimal extrusion accuracy, it may be necessary to calibrate your extruder's e-steps per millimeter. This involves marking a length of filament, extruding a specific amount, and adjusting the e-steps value in the printer's firmware or settings based on the actual extruded length.
5.3 Printer Forgetting Settings
If the printer loses settings (e.g., auto-leveling, Z-height) after a power cycle, ensure that settings are properly saved to the printer's memory after adjustment. Consult the official manual or community resources for specific saving procedures.
5.4 Seeking Further Support
For issues requiring technical assistance or warranty service, it is recommended to contact the seller directly through the platform where the purchase was made. They can provide guidance or connect you with FLSUN support. Additionally, active online communities, such as the FLSUN Facebook group, can be valuable resources for firmware, test files, and user-generated FAQs.
6. Gaminio specifikacijos
| Atributas | Detalė |
|---|---|
| Gaminio matmenys | 21.7 x 40.6 x 23.5 colio (55.1 x 103.1 x 59.7 cm) |
| Prekės svoris | 40 svaro (18.14 kg) |
| Medžiaga | Metalas |
| Spalva | Juoda |
| Gamintojas | FLSUN |
| Kilmės šalis | Kinija |
| Pasiekiama pirmoji data | 14 m. kovo 2025 d |
7. Garantija ir palaikymas
FLSUN is committed to providing excellent customer service and support for your S1 3D Printer.
7.1 Apsaugos planai
Extended protection plans are available for purchase to cover your FLSUN S1 3D Printer beyond the standard warranty. Options include:
- 3 metų apsaugos planas
- 4 metų apsaugos planas
Please refer to the product listing or contact your retailer for details on pricing and coverage.
7.2 Pagalba klientams
For any inquiries, technical assistance, or support needs, please utilize the customer support channels provided by your retailer. You can also visit the official FLSUN Store dėl papildomų išteklių ir kontaktinės informacijos.


