1. Įvadas
Ačiū, kad pirkoteasing the G Keni Elegant CD Player Alarm Clock Radio. This device combines a top-loading CD player, FM radio, Bluetooth speaker, MP3/USB music player, and an alarm clock with a wireless charging station. It is designed to provide versatile audio entertainment and convenience for your home. Please read this manual thoroughly before use to ensure proper operation and to maximize your experience with the product.
2. Kas yra dėžutėje
- 1x G Keni Elegant CD Player Alarm Clock Radio (Model LC-10W)
- 1x Naudotojo vadovas
- 1x kintamosios srovės laidas
- 1x Remote Control (2*AAA dry batteries NOT INCLUDED)
3. Produktas baigtasview
Familiarize yourself with the main components and controls of your G Keni device.

3.1 pav.: priekis view of the G Keni CD Player Alarm Clock with a smartphone charging wirelessly on top and the remote control.
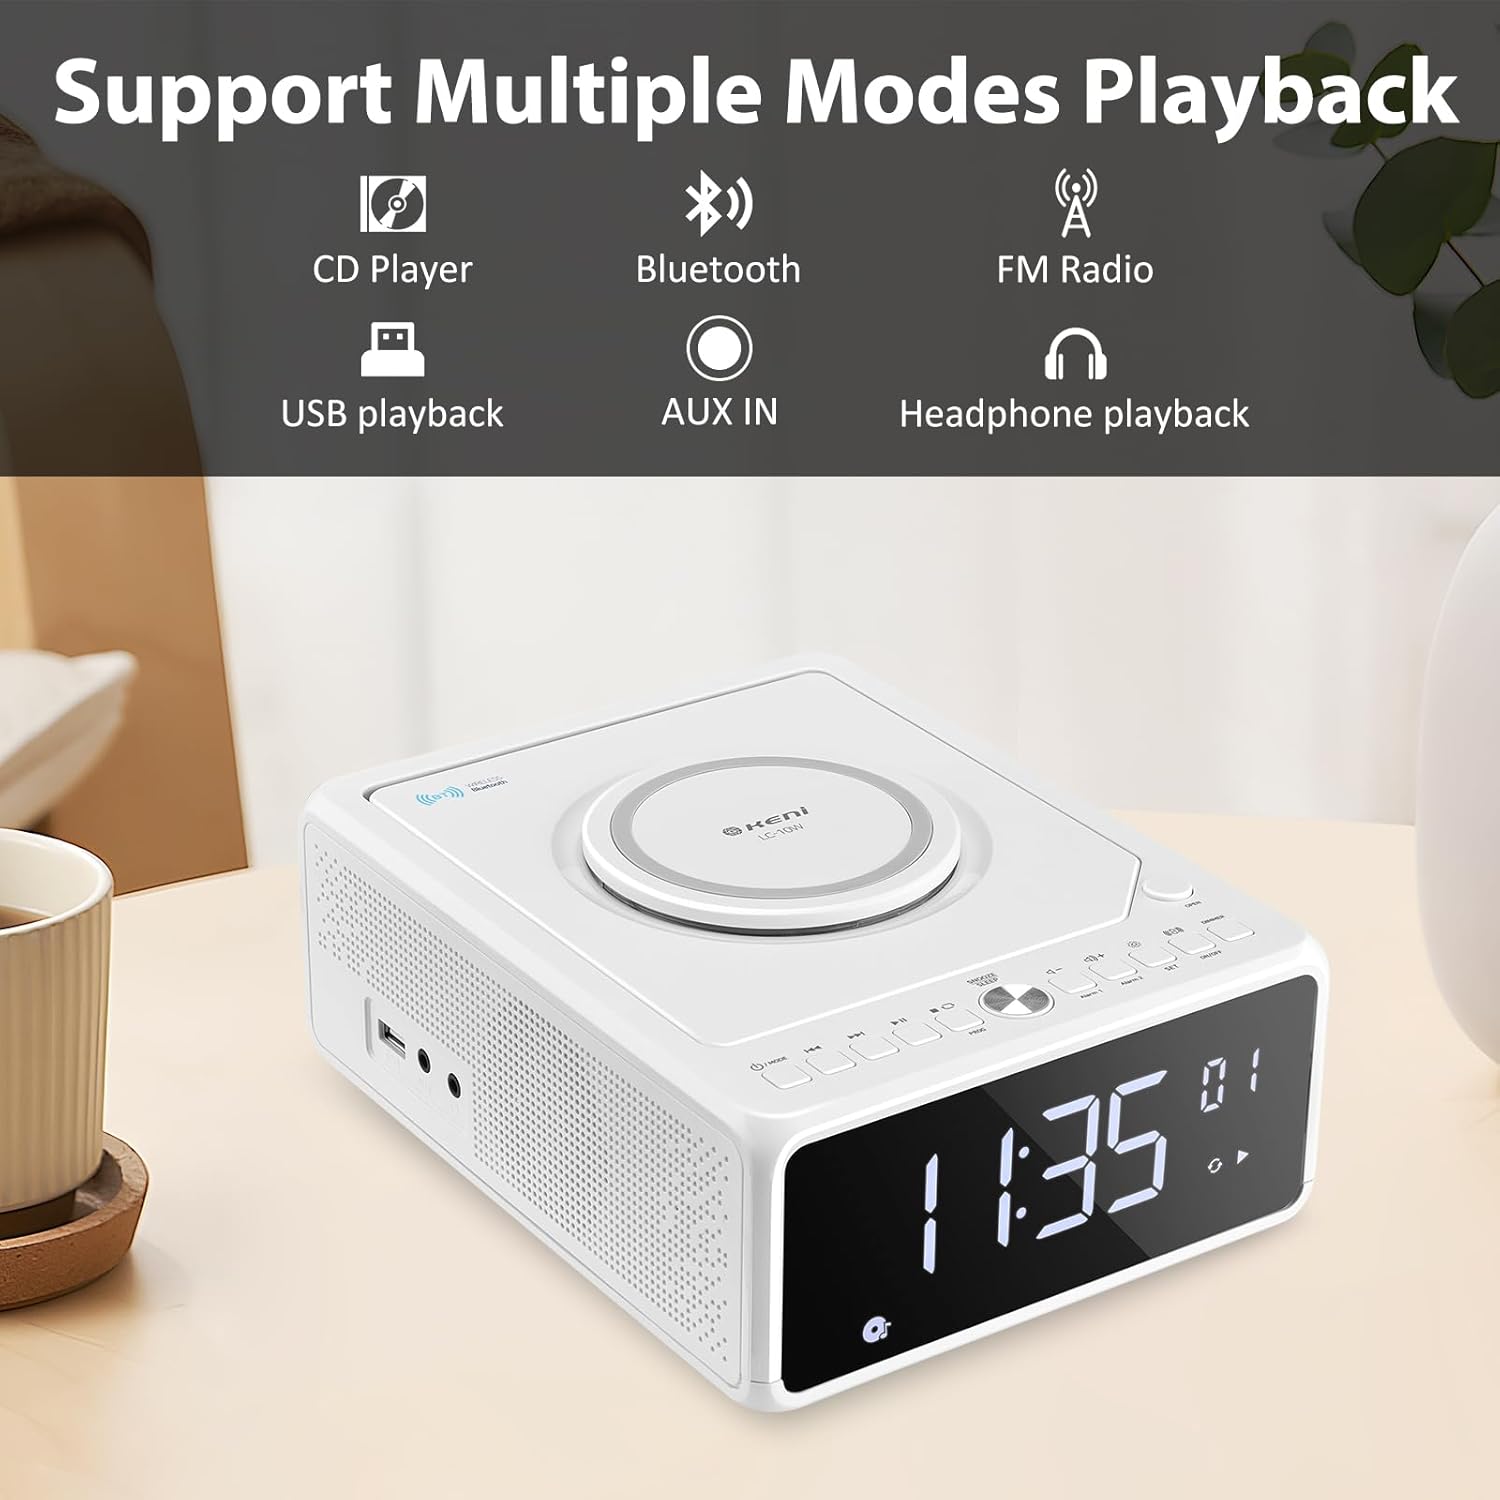
3.2 pav. Baigtaview of supported playback modes: CD Player, Bluetooth, FM Radio, USB playback, AUX IN, and Headphone playback.
3.1 Front Panel & Display
- Didelis LED ekranas: Shows time, FM frequency, mode, and alarm status.
- Valdymo mygtukai: Power, Mode, Set, Volume, Skip/Tune, Alarm 1/2, Snooze/Dimmer.
3.2 Viršutinis skydelis
- CD skyrius: Top-loading mechanism for CDs.
- Belaidžio įkrovimo padėklas: Suderinamiems išmaniesiems telefonams.
3.3 Rear/Side Panels
- Kintamosios srovės įvestis: Jungiamas prie maitinimo adapterio.
- FM antena: Extendable wire antenna for radio reception.
- USB prievadas: For MP3/WMA playback from USB drives.
- AUX įvestis: 3.5 mm lizdas išoriniams garso įrenginiams.
- Ausinių išvestis: 3.5 mm lizdas privačiam klausymuisi.
- Baterijų skyrius: For backup batteries (2*AAA, not included) to retain time settings during power outages.
4. Sąranka
4.1 Maitinimo jungtis
- Insert 2 AAA batteries (not included) into the battery compartment on the bottom of the unit. These batteries serve as a backup for time settings during power interruptions.
- Connect the AC power cord to the AC input on the back of the unit, then plug the other end into a standard wall outlet (100V-240V).
- Įrenginys įsijungs, o ekranas užsidegs.
4.2 Laiko nustatymas
- Paspauskite ir palaikykite NUSTATYTI button until the hour digits begin to blink.
- Paspauskite Forward (▶▶I) or Rewind (I◀◀) button to adjust the hour. Ensure the correct AM/PM indicator is selected if using 12-hour format.
- Paspauskite NUSTATYTI button again. The minute digits will begin to blink.
- Paspauskite Forward (▶▶I) or Rewind (I◀◀) mygtuką norėdami sureguliuoti minutes.
- Paspauskite NUSTATYTI button one more time to confirm and save the time.
- Norėdami perjungti tarp 12 valandų ir 24 valandų formato, paspauskite Forward (▶▶I) button while the hour digits are blinking during time setting.
4.3 FM antena
For optimal FM radio reception, fully extend the wire antenna located on the back of the unit. Adjust its position for the best signal.
5. Naudojimo instrukcijos
5.1 CD atkūrimas

Figure 5.1: Inserting a CD into the top-loading compartment.
- Atidarykite CD skyriaus dangtelį, esantį įrenginio viršuje.
- Place a CD (CD, CD-R/RW, MP3, audio-book) onto the spindle with the label side facing up.
- Uždarykite CD skyriaus dangtelį.
- Paspauskite REŽIMAS button until 'CD' mode is selected. The unit will begin playing automatically.
- Naudokite Play/Pause (▶II) mygtuką, norėdami pristabdyti arba tęsti atkūrimą.
- Naudokite Forward (▶▶I) or Rewind (I◀◀) buttons to skip tracks. Press and hold to fast forward or rewind within a track.
- Reguliuokite garsumą naudodami VOL+ or VOL- mygtukai.
5.2 Bluetooth poravimas

Figure 5.2: Streaming music from a smartphone via Bluetooth.
- Paspauskite REŽIMAS button until 'BT' (Bluetooth) mode is selected. The display will show 'BT' and blink, indicating it's in pairing mode.
- Išmaniajame telefone ar kitame „Bluetooth“ įrenginyje įjunkite „Bluetooth“ ir ieškokite galimų įrenginių.
- Select 'G Keni' from the list of devices.
- Once paired, the 'BT' indicator on the display will stop blinking and remain solid. You can now stream audio from your device.
5.3 FM radijo veikimas

Figure 5.3: Enjoying FM radio with the G Keni unit.
- Paspauskite REŽIMAS mygtuką, kol bus pasirinktas „FM“ režimas.
- Automatinis nuskaitymas: Paspauskite ir palaikykite Play/Pause (▶II) mygtuką, kad automatiškai nuskaitytumėte ir išsaugotumėte galimas FM stotis.
- Rankinis derinimas: Paspauskite Forward (▶▶I) or Rewind (I◀◀) mygtukais, kad rankiniu būdu nustatytumėte konkretų dažnį.
- Iš anksto nustatytos stotys: Naudokite CH+ or CH- buttons on the remote control to navigate through saved preset stations.
5.4 USB atkūrimas
- Įdėkite USB atmintinę, kurioje yra MP3 / WMA garso įrašų files į USB prievadą.
- Paspauskite REŽIMAS button until 'USB' mode is selected. The unit will automatically detect and begin playing audio files.
- Naudokite Play/Pause (▶II), Forward (▶▶I), ir Rewind (I◀◀) mygtukai, skirti valdyti atkūrimą.
5.5 AUX įvestis
- Connect an external audio device (e.g., MP3 player, smartphone) to the AUX IN port using a 3.5mm audio cable (not included).
- Paspauskite REŽIMAS mygtuką, kol bus pasirinktas „AUX“ režimas.
- Valdykite atkūrimą iš prijungto išorinio įrenginio.
5.6 Žadintuvo funkcijos

Figure 5.4: The alarm clock on a bedside table, also showing wireless charging.
Įrenginys turi dvigubus žadintuvus (1 žadintuvas ir 2 žadintuvas).
- Žadintuvo laiko nustatymas:
a. Paspauskite ir palaikykite 1 pavojaus signalas or 2 pavojaus signalas mygtuką, kol mirksės valandų skaitmenys.
b. Naudoti Forward (▶▶I) or Rewind (I◀◀) mygtukus, kad nustatytumėte norimą valandą.
c. Paspauskite 1 pavojaus signalas or 2 pavojaus signalas mygtuką dar kartą. Minučių skaitmenys mirksės.
d. Naudoti Forward (▶▶I) or Rewind (I◀◀) mygtukus, kad nustatytumėte norimas minutes.
e. Paspauskite 1 pavojaus signalas or 2 pavojaus signalas dar kartą paspauskite mygtuką, kad patvirtintumėte žadintuvo laiką. - Selecting Alarm Source:
a. After setting the alarm time, the display will show options for the alarm sound (e.g., BB for Buzzer, TUNE for Radio, CD, USB, BT for Bluetooth).
b. Naudoti Forward (▶▶I) or Rewind (I◀◀) mygtukus, kad pasirinktumėte pageidaujamą žadintuvo šaltinį.
c. Paspauskite 1 pavojaus signalas or 2 pavojaus signalas button to confirm the alarm source. - Setting Alarm Volume:
a. After selecting the alarm source, 'V' will blink on the display.
b. Naudoti Forward (▶▶I) or Rewind (I◀◀) mygtukai, skirti reguliuoti žadintuvo garsumą.
c. Paspauskite 1 pavojaus signalas or 2 pavojaus signalas button to confirm the alarm volume. - Signalizacijos įjungimas / išjungimas: Trumpai paspauskite 1 pavojaus signalas or 2 pavojaus signalas mygtuką, kad įjungtumėte arba išjungtumėte žadintuvą. Kai žadintuvas aktyvus, ekrane pasirodys jo piktograma.
5.7 Atidėjimo ir miego laikmatis
- Snausti: Kai suskamba žadintuvas, paspauskite SNOZUOTAS/REŽIMUOTOJAS button to temporarily silence the alarm for 9 minutes. The alarm will sound again after 9 minutes. This can be repeated within an hour.
- Miego laikmatis: While playing audio (Radio, CD, USB, Bluetooth), press the MIEGAS button on the remote control repeatedly to cycle through sleep timer options (e.g., 10, 20, 30, 60, 90 minutes, or OFF). The unit will automatically turn off after the selected duration.
5.8 Ekrano ryškumas
Paspauskite SNOZUOTAS/REŽIMUOTOJAS mygtuką (arba REŽIMAS button on the remote) repeatedly to adjust the brightness of the LED display. There are 5 levels of dimmable settings, including an option to turn the display off completely.
5.9 Belaidis įkrovimas

Figure 5.5: A smartphone being charged wirelessly on the unit's charging pad.
Place your Qi-enabled smartphone directly onto the wireless charging pad located on the top of the unit. Ensure the phone is centered for optimal charging. The unit supports fast wireless charging (Max 7.5W for iOS, 10W for Android).
5.10 Nuotolinio valdymo pulto naudojimas
The included remote control provides convenient access to all functions. Insert 2 AAA batteries (not included) into the remote before use. Buttons on the remote mirror most functions available on the unit's front panel, including Power, Mode, Volume, Skip/Tune, Alarm settings, Snooze, Sleep, and Dimmer.
6. Priežiūra
- Valymas: Nuvalykite įrenginį minkštu, sausu skudurėliu. Nenaudokite abrazyvinių valiklių ar tirpiklių.
- CD priežiūra: Kompaktinius diskus imkite už kraštų. Laikykite juos švarius ir nesubraižytus.
- Vieta: Place the unit on a stable, flat surface away from direct sunlight, heat sources, and moisture. Ensure adequate ventilation.
7. Problemų sprendimas
If you encounter issues with your G Keni device, please refer to the following common problems and solutions:
| Problema | Galima priežastis | Sprendimas |
|---|---|---|
| Įrenginys neįsijungia. | Maitinimo laidas netinkamai prijungtas. | Ensure the AC power cord is securely plugged into both the unit and a working wall outlet. |
| CD praleidžia arba negroja. | Kompaktinis diskas yra nešvarus, subraižytas arba neteisingai įdėtas. | Clean the CD with a soft, lint-free cloth. Ensure the CD is placed correctly in the compartment. Try a different CD. |
| Prastas FM radijo priėmimas. | Antenna not extended or positioned poorly. | Fully extend the FM wire antenna and adjust its position for better signal. |
| „Bluetooth“ įrenginys nesusijungia. | Unit not in BT mode or device too far. | Ensure the unit is in 'BT' mode and blinking. Keep your Bluetooth device within 10 meters (33 feet) of the unit. Restart both devices. |
| Belaidis įkrovimas neveikia. | Phone not Qi-enabled, misaligned, or case too thick. | Ensure your phone supports Qi wireless charging. Realign the phone on the charging pad. Remove thick phone cases. |
| Alarm did not sound. | Signalizacija neįjungta arba nustatyta neteisingai. | Verify that the alarm is set and activated (alarm icon visible on display). Check alarm time and volume settings. |
8. Specifikacijos
- Modelio numeris: LC-10W
- Gaminio matmenys: 8.46 x 6.69 x 3.15 colio
- Prekės svoris: 2.6 svaro
- Ryšio technologija: Pagalbinis, „Bluetooth“, USB
- Garsiakalbio tipas: Dvigubas garsiakalbis
- Maitinimo įvestis: AC 100V-240V
- Belaidis įkrovimo išėjimas: Max 7.5W (iOS), Max 10W (Android)
- FM dažnio diapazonas: 87.5-108MHz
9. Garantija ir palaikymas
G Keni provides a one-year warranty for this product from the date of purchase. This warranty covers manufacturing defects and workmanship. It does not cover damage caused by misuse, accidents, unauthorized modifications, or normal wear and tear.
For technical assistance, warranty claims, or customer service inquiries, please contact G Keni customer support. Refer to the contact information provided on the product packaging or the official G Keni websvetainę, kurioje rasite naujausią pagalbos informaciją.


