1. Įvadas
Welcome to the user manual for your new MIRO A67 Smartphone. This guide provides essential information on setting up, operating, and maintaining your device. Please read this manual thoroughly to ensure optimal performance and longevity of your smartphone.
2. Kas yra dėžutėje
Upon unboxing your MIRO A67, please verify that all the following items are included:
- MIRO A67 Smartphone (Blue)
- USB kabelis
- Greito paleidimo vadovas (gali būti atskiras arba integruotas)
- SIM kortelės išstūmimo įrankis (paprastai pridedamas, nors ir nėra aiškiai nurodytas)

Vaizdas: Priekinė ir galinė dalys view of the MIRO A67 smartphone in blue. The front shows the large display with app icons, and the back features the dual camera setup and MIRO logo.
3. Produktas baigtasview
The MIRO A67 is designed for a seamless user experience, combining powerful performance with a vibrant display and advanced camera features.
3.1 Pagrindinės savybės
- Powerful Octa-Core Performance: Equipped with the UniSoc SC9863A Octa-Core 1.6GHz processor and optimized Android 14 Go Edition for smooth multitasking.
- Immersive HD+ Display: Features an expansive 6.75-inch Water Drop HD+ screen with 1600x720 resolution for vibrant visuals.
- AI-Enhanced Dual Camera System: Capture stunning photos with the 13MP AI Dual Camera and a dedicated 5MP front camera.
- Ilgai veikianti baterija ir greitas įkrovimas: A large 4000mAh battery supports your day, with convenient 10W fast charging via Type-C.
- Išplečiama saugykla: Comes with 64GB internal storage, expandable up to 1TB.
3.2 Vizualiniai komponentai

Image: The MIRO A67 smartphone displaying a high-definition movie scene, highlighting its 6.75-inch HD+ screen with 1600x720 resolution.

Image: A visual representation of the UNISOC SC9863A 8-Core processor, emphasizing its role in seamless multitasking for applications and games.

Vaizdas: Stambus planas view of the MIRO A67's dual rear cameras, featuring a 13MP AI Double Camera and a 0.3MP Depth sensor, designed for capturing detailed photos.
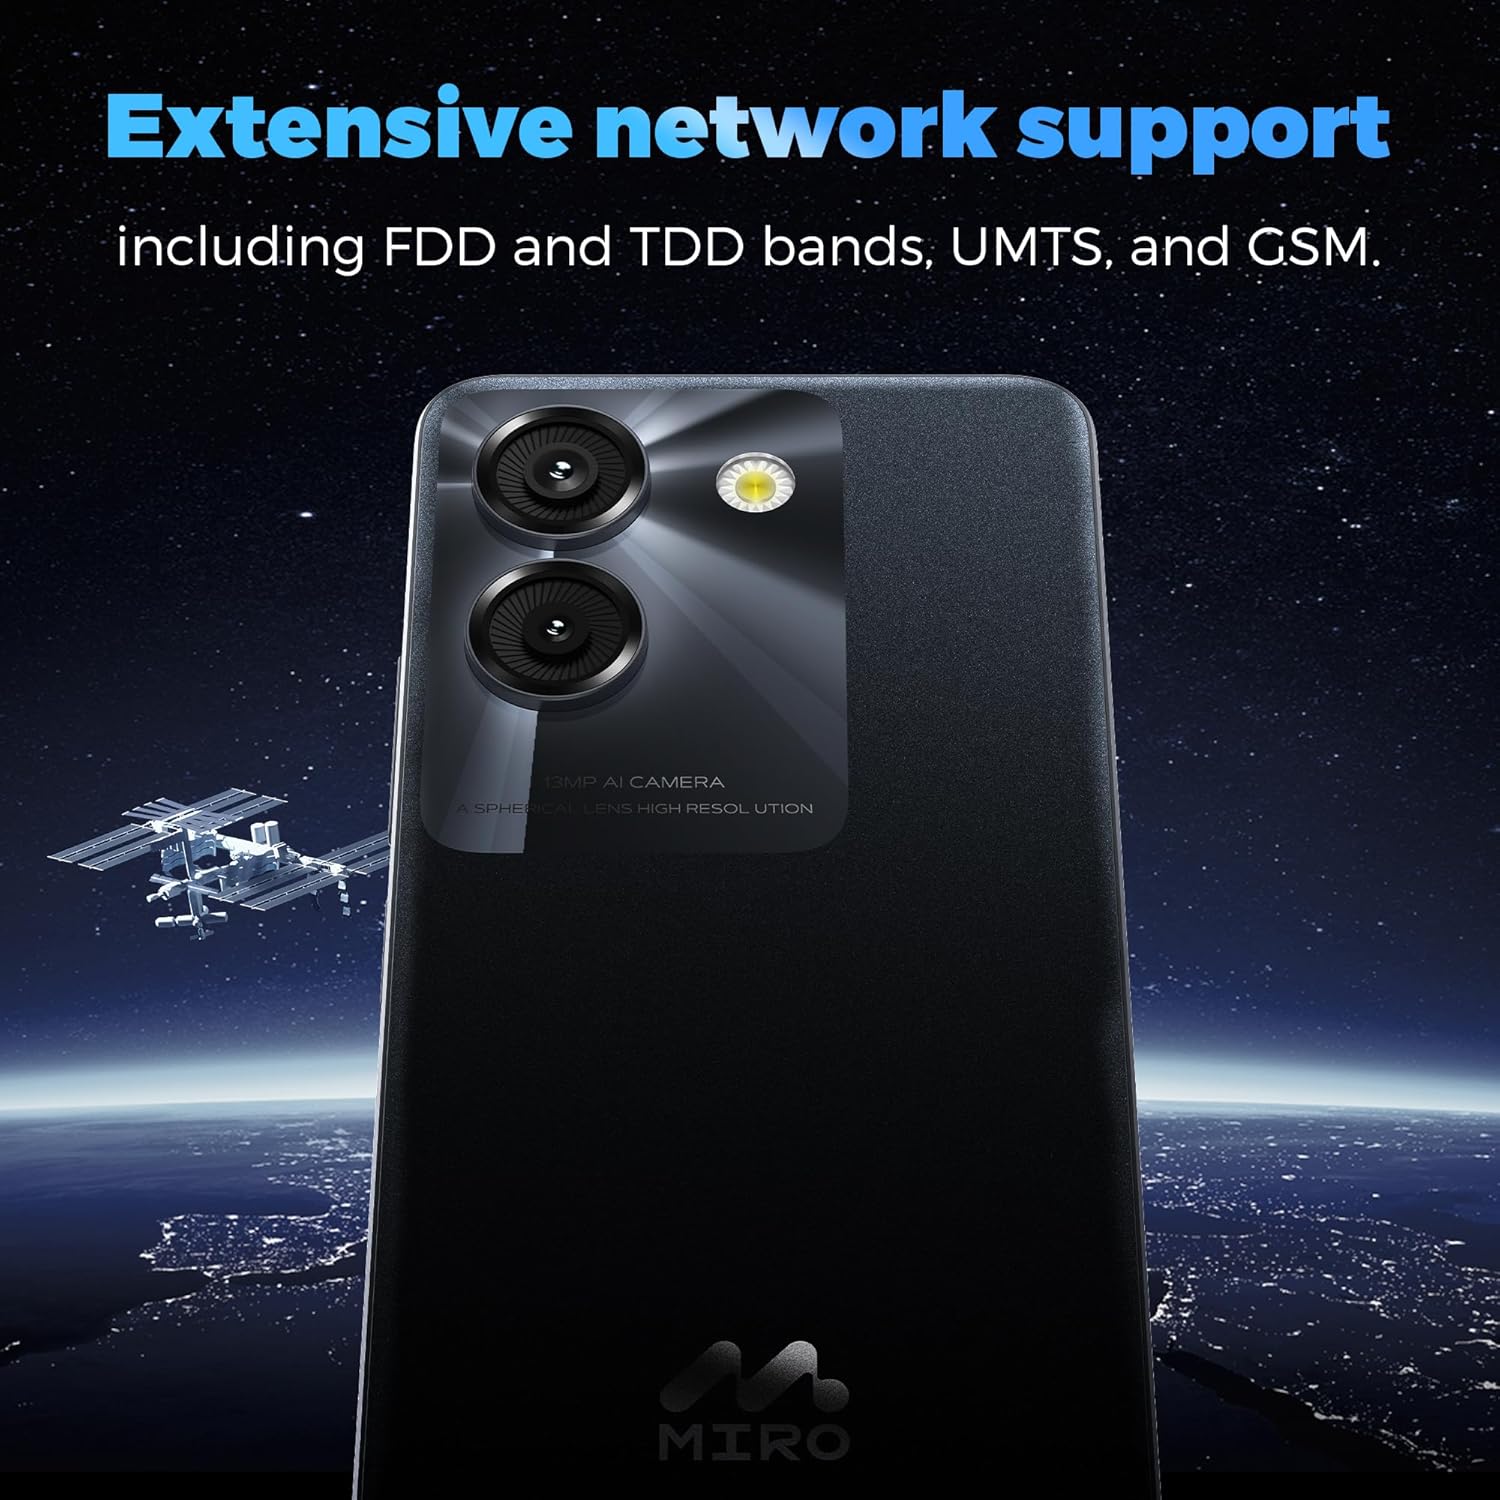
Image: The back of the MIRO A67 phone with a background illustrating extensive network support, including FDD, TDD bands, UMTS, and GSM.
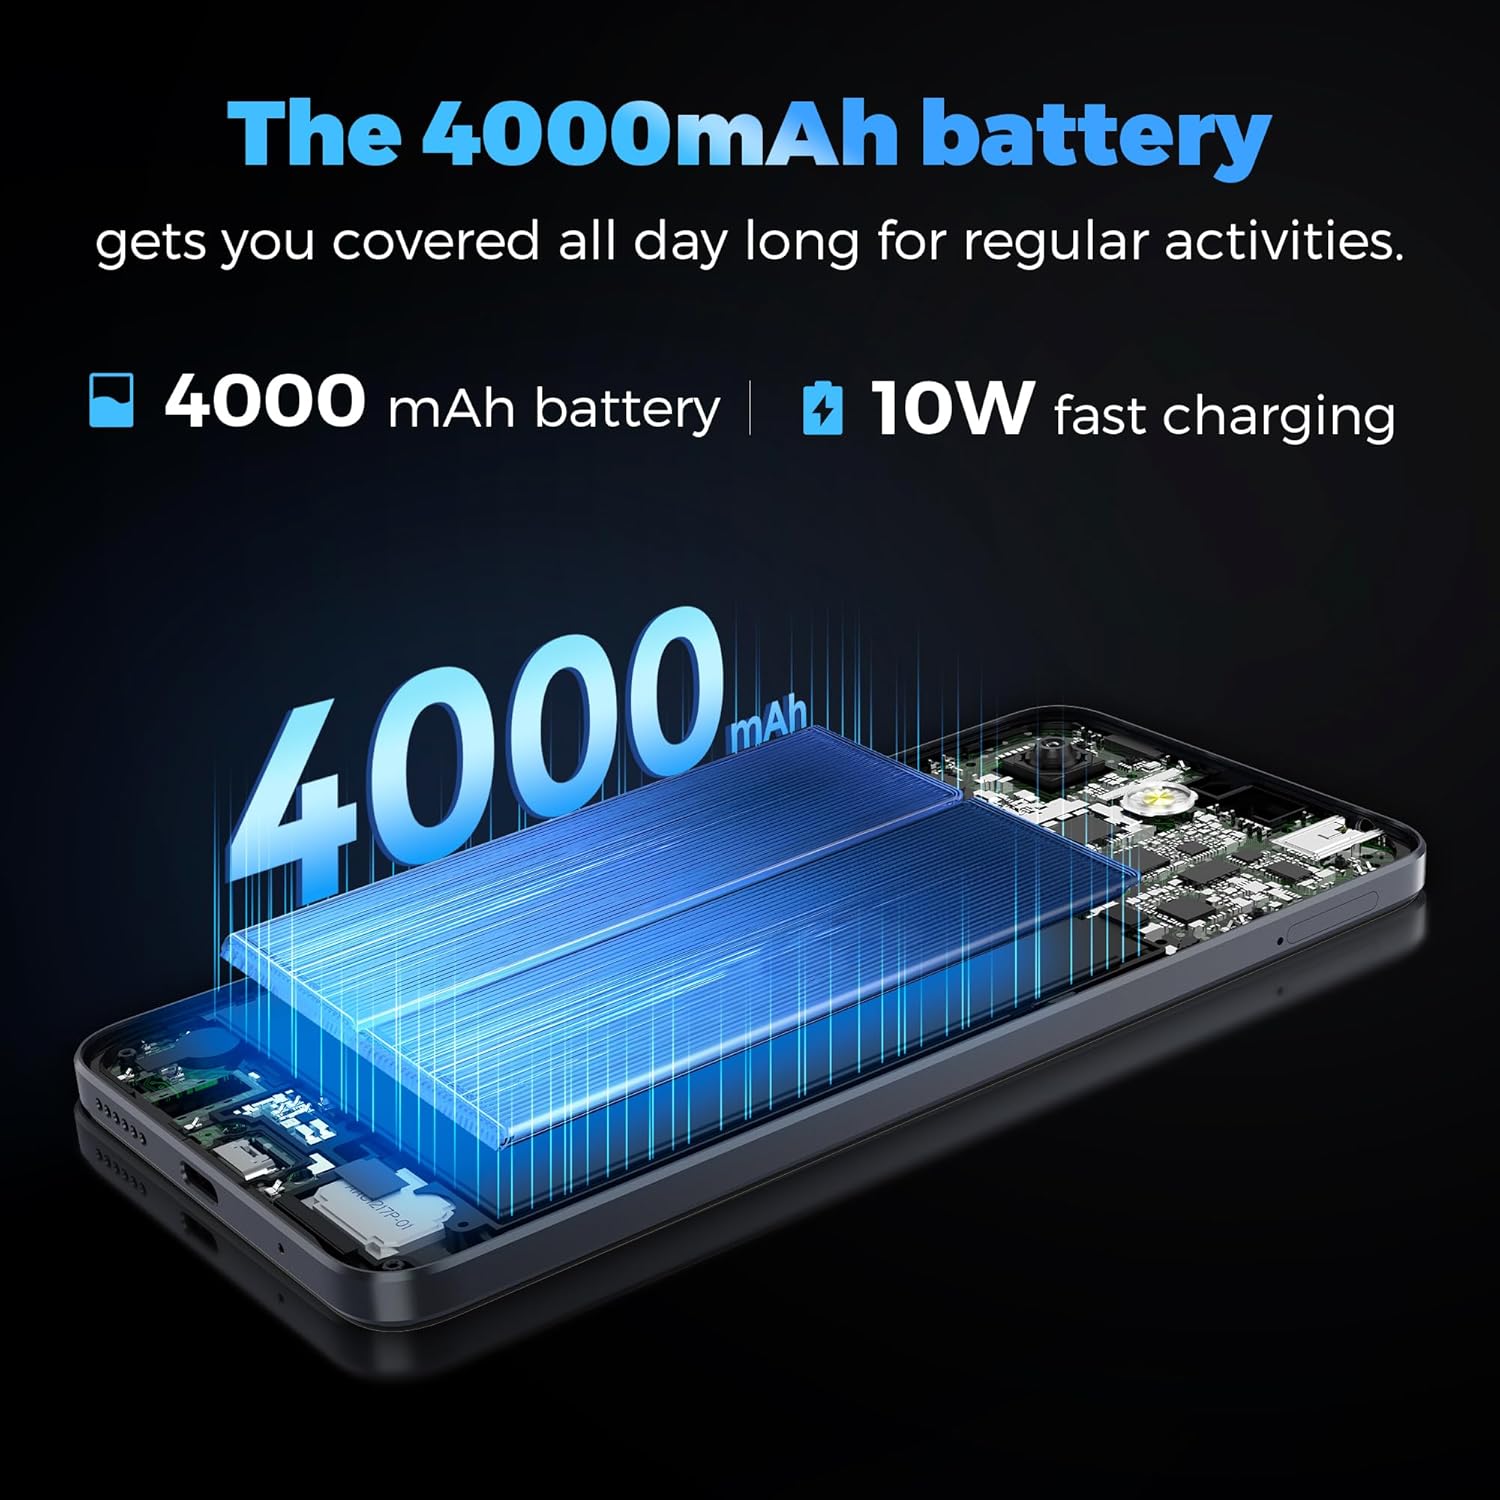
Paveikslėlis: vidinis view illustration of the MIRO A67, highlighting its 4000mAh battery and indicating 10W fast charging capability.
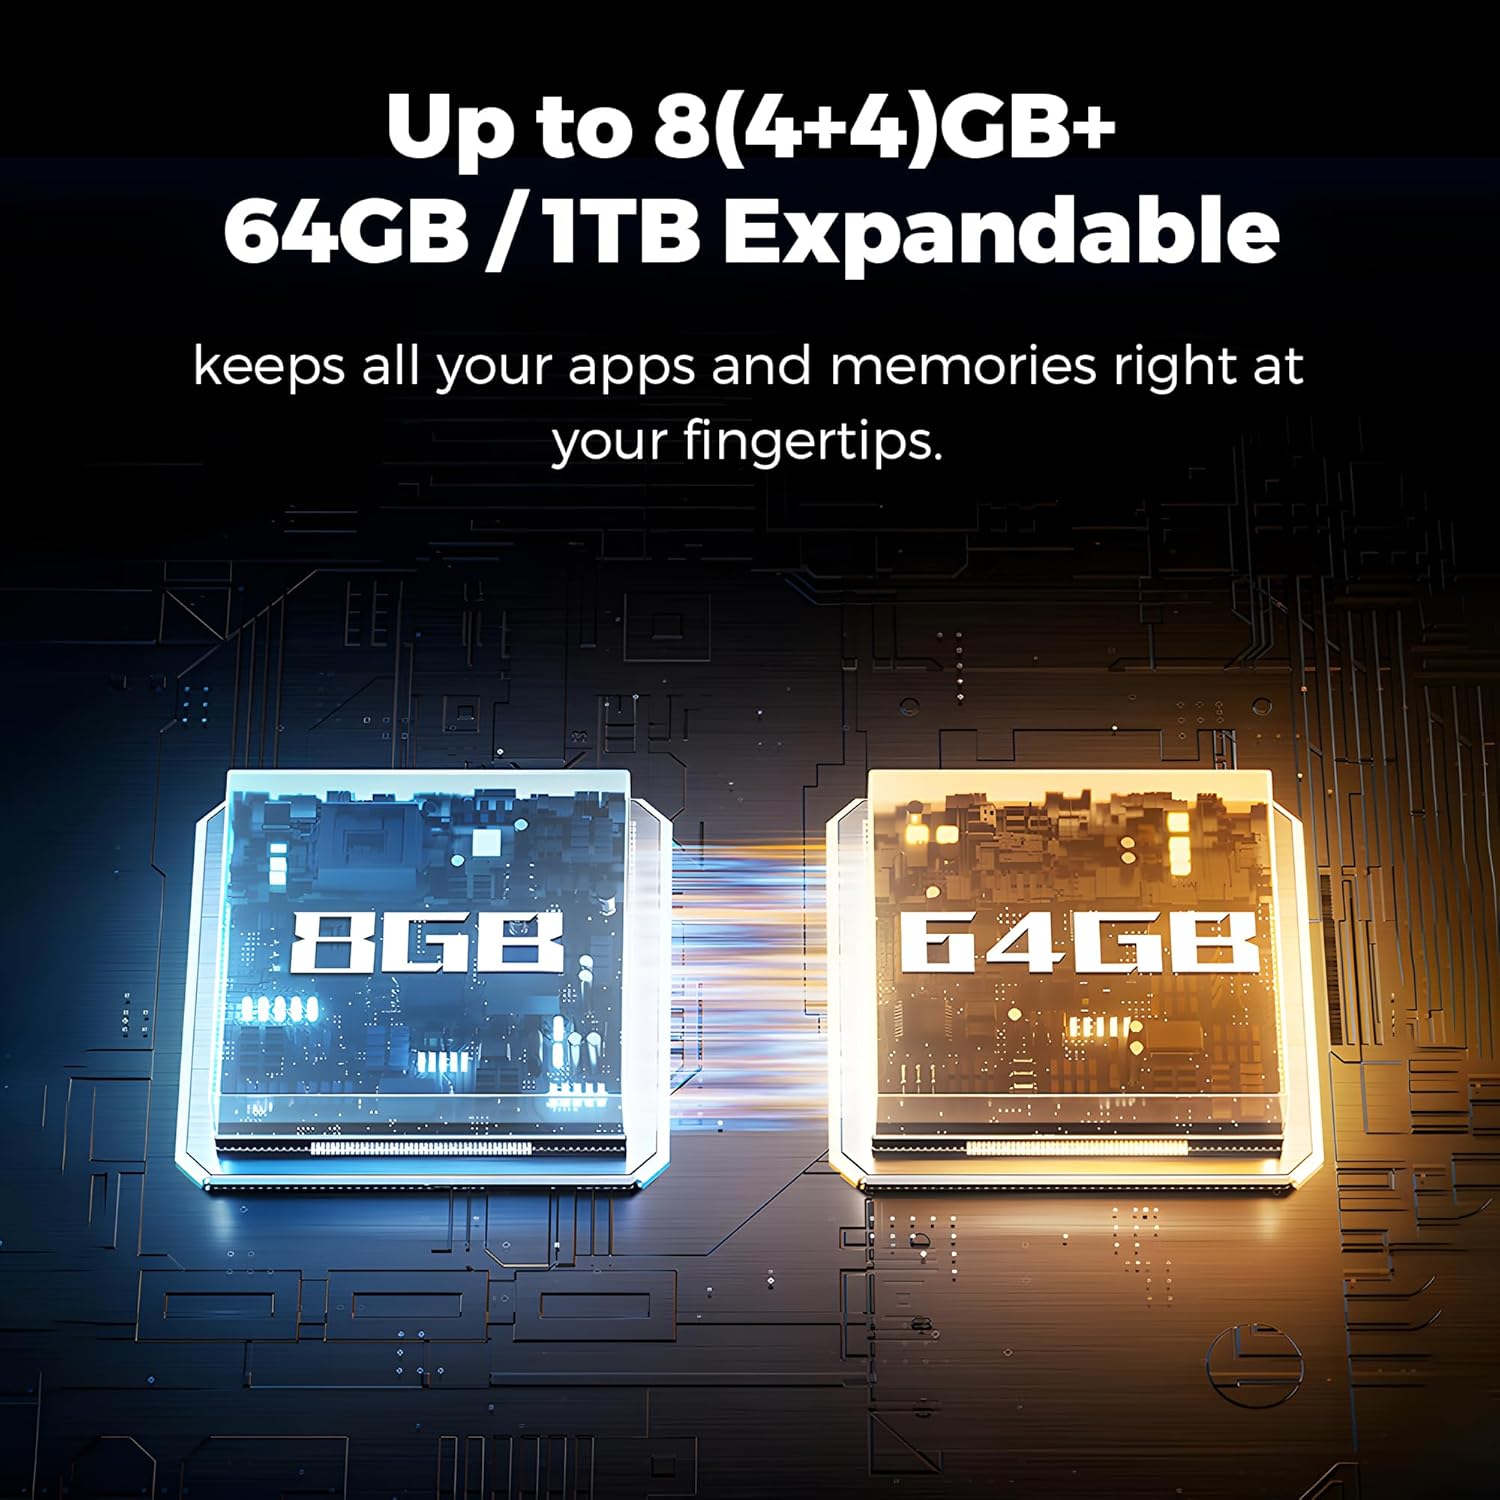
Image: A diagram illustrating the MIRO A67's memory and storage, showing 8GB (4+4GB) RAM and 64GB internal storage, expandable up to 1TB.

Image: A display of the MIRO A67 smartphone in its available color variants: Black, Green, and Blue.
4. Sąranka
4.1 SIM kortelės ir „MicroSD“ kortelės įdėjimas
- Raskite SIM kortelės dėklą telefono šone.
- Įkiškite SIM kortelės išstūmimo įrankį į mažą skylutę šalia dėklo ir švelniai paspauskite, kol dėklas iššoks.
- Place your Nano SIM card(s) and/or MicroSD card (for expandable storage) into the designated slots on the tray. Ensure they are correctly oriented.
- Atsargiai stumkite dėklą atgal į telefoną, kol jis spragtelėdamas užsifiksuos.
4.2 Įjungimas ir pradinė sąranka
- Press and hold the Power button (usually on the right side) until the MIRO logo appears.
- Vykdykite ekrane pateikiamus nurodymus, kad atliktumėte pradinę sąranką, kuri apima kalbos pasirinkimą, prisijungimą prie „Wi-Fi“, „Google“ paskyros nustatymą ir saugos parinkčių konfigūravimą.
5. Naudojimo instrukcijos
5.1 Pagrindinė navigacija
- Jutiklinis ekranas: Palieskite, kad pasirinktumėte, braukite, kad slinktumėte, suspauskite, kad priartintumėte.
- Pagrindinis ekranas: Your central hub for apps and widgets. Swipe left/right to access additional screens.
- Pranešimų skydelis: Braukite žemyn nuo ekrano viršaus, kad pasiektumėte pranešimus ir greituosius nustatymus.
- Programėlių stalčius: Braukite aukštyn iš ekrano apačios į view visos įdiegtos programos.
5.2 Skambinimas ir žinučių siuntimas
- Skambučiai: Palieskite telefono piktogramą, įveskite numerį ir palieskite skambinimo mygtuką.
- Žinutės: Tap the Messages icon, start a new conversation, enter the recipient and your message.
5.3 Prisijungimas prie „Wi-Fi“ ir „Bluetooth“
- „Wi-Fi“: Eikite į Nustatymai > Tinklas ir internetas > „Wi-Fi“Įjunkite „Wi-Fi“ ir pasirinkite norimą tinklą.
- Bluetooth: Eikite į Nustatymai > Prijungti įrenginiai > „Bluetooth“Įjunkite „Bluetooth“ ir susiekite su pasiekiamais įrenginiais.
6. Kameros funkcijos
The MIRO A67 features an AI-Enhanced Dual Camera system to help you capture memorable moments.
- Galinė kamera: 13MP AI Dual Camera with 0.3MP Depth sensor for enhanced photography, including real-time depth effects.
- Priekinė kamera: 5MP front camera for clear selfies and video calls.
6.1 Fotoaparato programėlės naudojimas
- Atidarykite programėlę „Kamera“ iš pagrindinio ekrano arba programėlių stalčiaus.
- Pasirinkite norimą režimą (pvz., Nuotrauka, Vaizdo įrašas, Portretas).
- Palieskite užrakto mygtuką, kad nufotografuotumėte arba pradėtumėte / sustabdytumėte vaizdo įrašymą.
- Use the toggle to switch between the front and rear cameras.
7. Baterija ir įkrovimas
Your MIRO A67 is equipped with a 4000mAh battery, designed to provide ample power for your daily activities.
- Baterijos talpa: 4000 milijonųamp Valandos.
- Įkrovimas: Supports 10W fast charging via the Type-C port.
7.1 Įrenginio įkrovimas
- Connect the USB cable to the Type-C port on your phone.
- Connect the other end of the USB cable to a compatible power adapter (not always included) or a computer's USB port.
- The charging indicator will appear on the screen. For optimal charging speed, use a 10W compatible power adapter.
8. Saugojimas ir našumas
The MIRO A67 is built for efficient performance and ample saugykla.
- Procesorius: UniSoc SC9863A Octa-Core 1.6GHz.
- Operacinė sistema: „Android 14 Go“ versija.
- RAM: 4GB (expandable up to 8GB with virtual RAM).
- Vidinė saugykla: 64 GB.
- Išplečiama saugykla: Supports MicroSD cards up to 1TB.
8.1 Saugyklos valdymas
To check your storage usage or free up space, go to Nustatymai > Saugykla. You can uninstall unused apps, clear cache, or move files to your MicroSD card.
9. Ryšys
Your MIRO A67 supports various connectivity options:
- „Wi-Fi“: 2.4G Wi-Fi for internet access.
- Bluetooth: „Bluetooth 4.2“, skirtas belaidžiams priedams prijungti.
- GPS: Integruotas GPS navigacijai ir vietos nustatymo paslaugoms.
- Korinio ryšio tinklai: Supports FDD and TDD bands, UMTS, and GSM for extensive network compatibility.
- Garso lizdas: 3.5 mm garso lizdas laidinėms ausinėms.
- USB prievadas: Type-C for charging and data transfer.
10. Priežiūra
To ensure the longevity and optimal performance of your MIRO A67, follow these maintenance guidelines:
- Laikykite švarų: Reguliariai valykite ekraną ir korpusą minkštu, nepūkuotu skudurėliu. Venkite stiprių cheminių medžiagų.
- Apsaugokite nuo pažeidimų: Use a screen protector and a protective case to prevent scratches and impacts.
- Venkite ekstremalių temperatūrų: Nelaikykite telefono labai aukštoje ar žemoje temperatūroje, nes tai gali paveikti akumuliatoriaus veikimo laiką ir vidinius komponentus.
- Programinės įrangos atnaujinimai: Keep your operating system and apps updated to benefit from the latest security patches and features.
- Akumuliatoriaus priežiūra: Avoid fully draining the battery frequently. Charge it regularly and avoid overcharging for extended periods.
11. Problemų sprendimas
If you encounter issues with your MIRO A67, refer to the following common solutions:
11.1 Telefonas neįsijungia
- Įsitikinkite, kad akumuliatorius įkrautas. Prijunkite telefoną prie įkroviklio bent 15 minučių, prieš bandydami vėl įjungti.
- Paspauskite ir palaikykite maitinimo mygtuką 10–15 sekundžių, kad atliktumėte priverstinį paleidimą iš naujo.
11.2 Network Issues (No Signal/Cannot Make Calls)
- Patikrinkite, ar SIM kortelė tinkamai įdėta.
- Įsitikinkite, kad esate tinklo aprėpties zonoje.
- Iš naujo paleiskite telefoną.
- Eikite į Nustatymai > Tinklas ir internetas > Mobilusis tinklas and ensure your preferred network type is selected and data roaming is enabled if necessary.
11.3 Programėlių strigimas arba užstrigimas
- Uždarykite ir vėl atidarykite programą.
- Išvalykite programėlės talpyklą: Nustatymai > Programos > [Programos pavadinimas] > Atmintis ir talpykla > Išvalyti talpyklą.
- Atnaujinkite programėlę iš „Google Play“ parduotuvės.
- Iš naujo paleiskite telefoną.
11.4 Ekranas nereaguoja
- Atlikite priverstinį paleidimą iš naujo laikydami nuspaustą maitinimo mygtuką.
- Ensure the screen is clean and free from moisture.
12. Specifikacijos
Detailed technical specifications for the MIRO A67 smartphone:
| Funkcija | Specifikacija |
|---|---|
| Modelio pavadinimas | MIRO A67 |
| Prekės ženklas | MIRO |
| Operacinė sistema | Android 14 Go Edition |
| CPU | UniSoc SC9863A Octa-Core 1.6GHz |
| Ekrano dydis | 6.75 colių |
| Rezoliucija | 720 x 1600 (HD+) |
| RAM atmintis | 4 GB (išplečiama iki 8 GB) |
| Vidinė saugykla | 64 GB |
| Išplečiama saugykla | Iki 1 TB (MicroSD) |
| Galinė kamera | 13MP AI Dual Camera + 0.3MP Depth |
| Priekinė kamera | 5 MP |
| Baterijos talpa | 4000 mAh |
| Įkrovimas | 10 W greitas įkrovimas (C tipo) |
| Ryšys | Wi-Fi (2.4G), Bluetooth 4.2, GPS |
| Garso lizdas | 3.5 mm |
| Belaidis nešiklis | Atrakinta |
| Spalva | Mėlyna |
| Prekės svoris | 12 uncijos |
| Pakuotės matmenys | 7.36 x 3.82 x 1.97 colio |

Image: A comprehensive graphic detailing various features and specifications of the MIRO A67, including screen size, OS, processor, battery, cameras, and connectivity bands.
13. Garantija ir palaikymas
Your MIRO A67 smartphone comes with a standard manufacturer's warranty. Please refer to the warranty card included in your product packaging for specific terms and conditions, including warranty duration and coverage details.
For technical support, service, or further inquiries, please contact MIRO customer service through the contact information provided on the official MIRO website or your purchase documentation. Keep your proof of purchase handy when contacting support.


