Įvadas
Thank you for choosing the vakiav VK-G1 PRO Smart Bird Feeder. This manual provides essential information for the proper setup, operation, and maintenance of your device. Enjoy crystal-clear, real-time birdwatching and capture stunning moments of nature in your backyard.
Pakuotės turinys
Before beginning installation, please verify that all components are present and in good condition:
- Smart Bird Feeder with Camera (VK-G1 PRO)
- 5W saulės baterija
- Signalo siųstuvas
- Adapteris
- Įkrovimo kabelis
- Metal Bracket for Tree Mount and Bird Feeder Mount
- Ethernet kabelis
- Montavimo varžtai ir inkarai
- Vartotojo vadovas
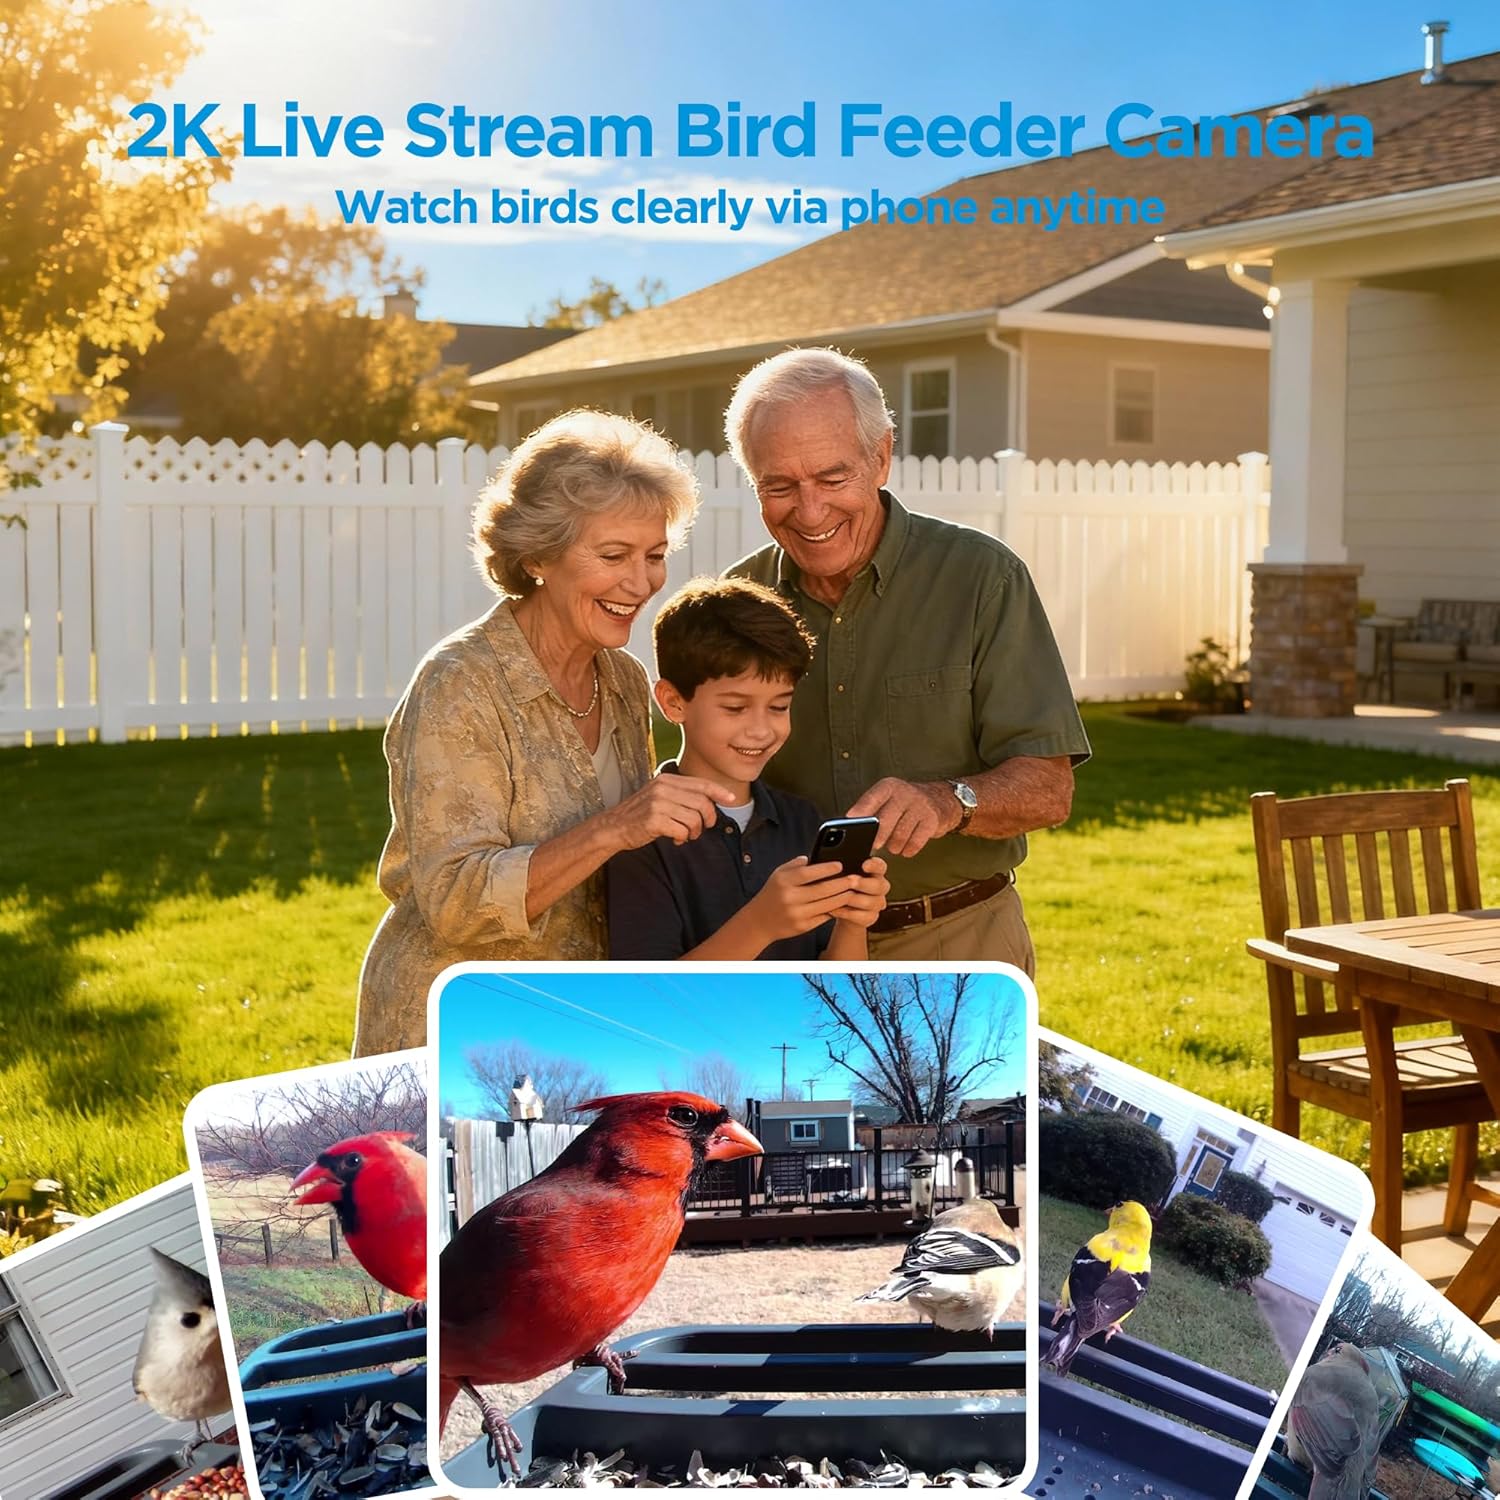
Image: All components included with the vakiav Smart Bird Feeder, including the feeder unit, solar panel, mounting hardware, and cables.
Sąrankos vadovas
1. Camera Installation & Charging
The camera unit is integrated into the feeder. Ensure the camera's internal battery is fully charged before initial use. Connect the provided charging cable to the camera's charging port. The camera has a 5200mAh rechargeable battery.

Paveikslėlis: detalus view of the camera module integrated within the bird feeder, showing its lens and sensors.
2. Signal Transmitter Connection
Connect the included signal transmitter to your router using the Ethernet cable. This creates a private network for a faster, safer, and more reliable connection, eliminating the need for Wi-Fi name or password input for the feeder itself.
3. Programėlės atsisiuntimas ir susiejimas
Download the vakiav app from your smartphone's app store. Follow the in-app instructions to pair your smart bird feeder. The app will guide you through the one-step binding process, typically involving scanning a QR code on the device or manual.
4. Montavimo parinktys
The vakiav VK-G1 PRO offers versatile mounting options to suit your outdoor space:
- Sieninis laikiklis: Use the provided screws and anchors to secure the feeder to a wall.
- Stulpo kalnas: Attach the feeder to a pole using the metal bracket.
- Medžio laikiklis: Secure the feeder to a tree using the metal bracket and screws.

Image: The bird feeder shown installed on a pole, a tree, and a wall, demonstrating its flexible mounting capabilities.
5. Saulės kolektorių montavimas
5 W saulės baterijos plokštę sumontuokite vietoje, kurioje būtų ample direct sunlight throughout the day. Connect the solar panel's cable to the charging port on the bird feeder camera. This ensures continuous power and reduces the need for frequent manual recharging.

Image: The bird feeder mounted on a wall with its solar panel positioned to capture sunlight, illustrating the solar charging feature.
6. Tiektuvo užpildymas
Open the roof of the bird feeder. Pour your desired birdseed into the two compartments. The feeder has a 3-liter capacity. Close the roof securely to prevent access by other animals.
Video: A demonstration of filling the bird feeder with birdseed, showing the ease of access and capacity.
Naudojimo instrukcijos
1. Live Video Stream & Photo Capture
Access the vakiav app to view a live 2K Ultra HD video stream from your bird feeder. The camera automatically captures 5MP photos and HD videos of visiting birds. These moments are saved within the app for easy viewir dalijimasis.

Image: A smartphone screen showing a live 2K video feed from the bird feeder, capturing a bird in clear detail.
2. AI Bird Species Identification
The built-in AI technology automatically identifies over 10,000 bird species from your live stream. It intelligently organizes visits by species in your gallery and captures key moments. This feature is permanently free.

Image: A smartphone displaying the app interface with instant alerts and AI identification of various bird species visiting the feeder.
3. Real-time Motion Detection & Alerts
The feeder features real-time motion detection. When motion is detected, you will receive an immediate alert on your smartphone. Tap the notification to open the app and view the live feed of the activity at your feeder.
Video: A short clip showing a bird feeding at the feeder, demonstrating the live video capability and motion detection.
4. Dual-Linkage Technology
The Dual-Linkage Technology ensures a stable and reliable connection by creating a private network between the signal transmitter and the feeder. This minimizes signal dropouts and enhances performance.
Priežiūra
1. Solar Power & Battery Management
The 5W solar panel keeps the camera charged for up to 180 days, ensuring uninterrupted birdwatching. A protective coating on the feeder reduces the effects of sun exposure, contributing to long-lasting performance. The feeder is designed to withstand rain, snow, and sun.

Image: The bird feeder with its solar panel, emphasizing the extended battery life of up to 6 months with solar charging.
2. Valymas
Regularly clean the bird feeder to prevent mold or bacterial growth. Ensure the feeder is dry before refilling with birdseed. The design allows for easy access to the seed compartments for cleaning.
Specifikacijos
| Prekės ženklas | vakiav |
| Modelio numeris | VK-G1 PRO |
| Gaminio matmenys | 13.8 colio ilgio x 9.8 colių pločio x 5.9 colio aukščio |
| Prekės svoris | 5.17 svaro (2.35 kilogramo) |
| Medžiaga | Plastikiniai |
| Maitinimo šaltinis | Varomas saulės energija |
| Talpa | 3 litrai |
| Ypatingos savybės | 2K camera, Permanently Free AI Recognition, Permanently Free 500M Storage, Built-In Camera |
| Montavimo tipas | Wall mount, Pole mount, Tree mount |
| Tikslinės rūšys | Blue Jay, Cardinal |
| Baterijos | Reikalingos 1 ličio jonų baterijos (pridedamos) |
Garantija ir palaikymas
For any questions, technical support, or warranty inquiries, please contact vakiav customer service:
- El. paštas: service@vakiav.com
- Telefono numeris: +1 (408) 207-5061
- Darbo valandos: Monday to Sunday, 8:00 AM - 8:00 PM (PST)
Always follow the instructions provided in the manual for safe handling and installation. Keep the feeder secure to prevent access by larger animals. Avoid using food types that may harm certain species. Be mindful of local regulations regarding feeding wildlife. Ensure the feeder is properly mounted and stable to prevent falls or damage. Keep the feeder clean and dry to prevent mold or bacterial growth. Do not leave the feeder unattended for extended periods. Always supervise children when they are near the feeder. Be cautious when sharing live videos or photos to protect your privacy and the safety of the wildlife.


