1. Įvadas
Thank you for choosing the SOVMIKU 4K NVR 5MP PoE Camera System. This system provides advanced surveillance capabilities with 4K NVR recording, 5MP PoE cameras featuring human detection, 300° pan and 90° tilt functionality, auto-tracking, and two-way audio. Designed for home and business security, this manual will guide you through the installation, operation, and maintenance of your new security system.
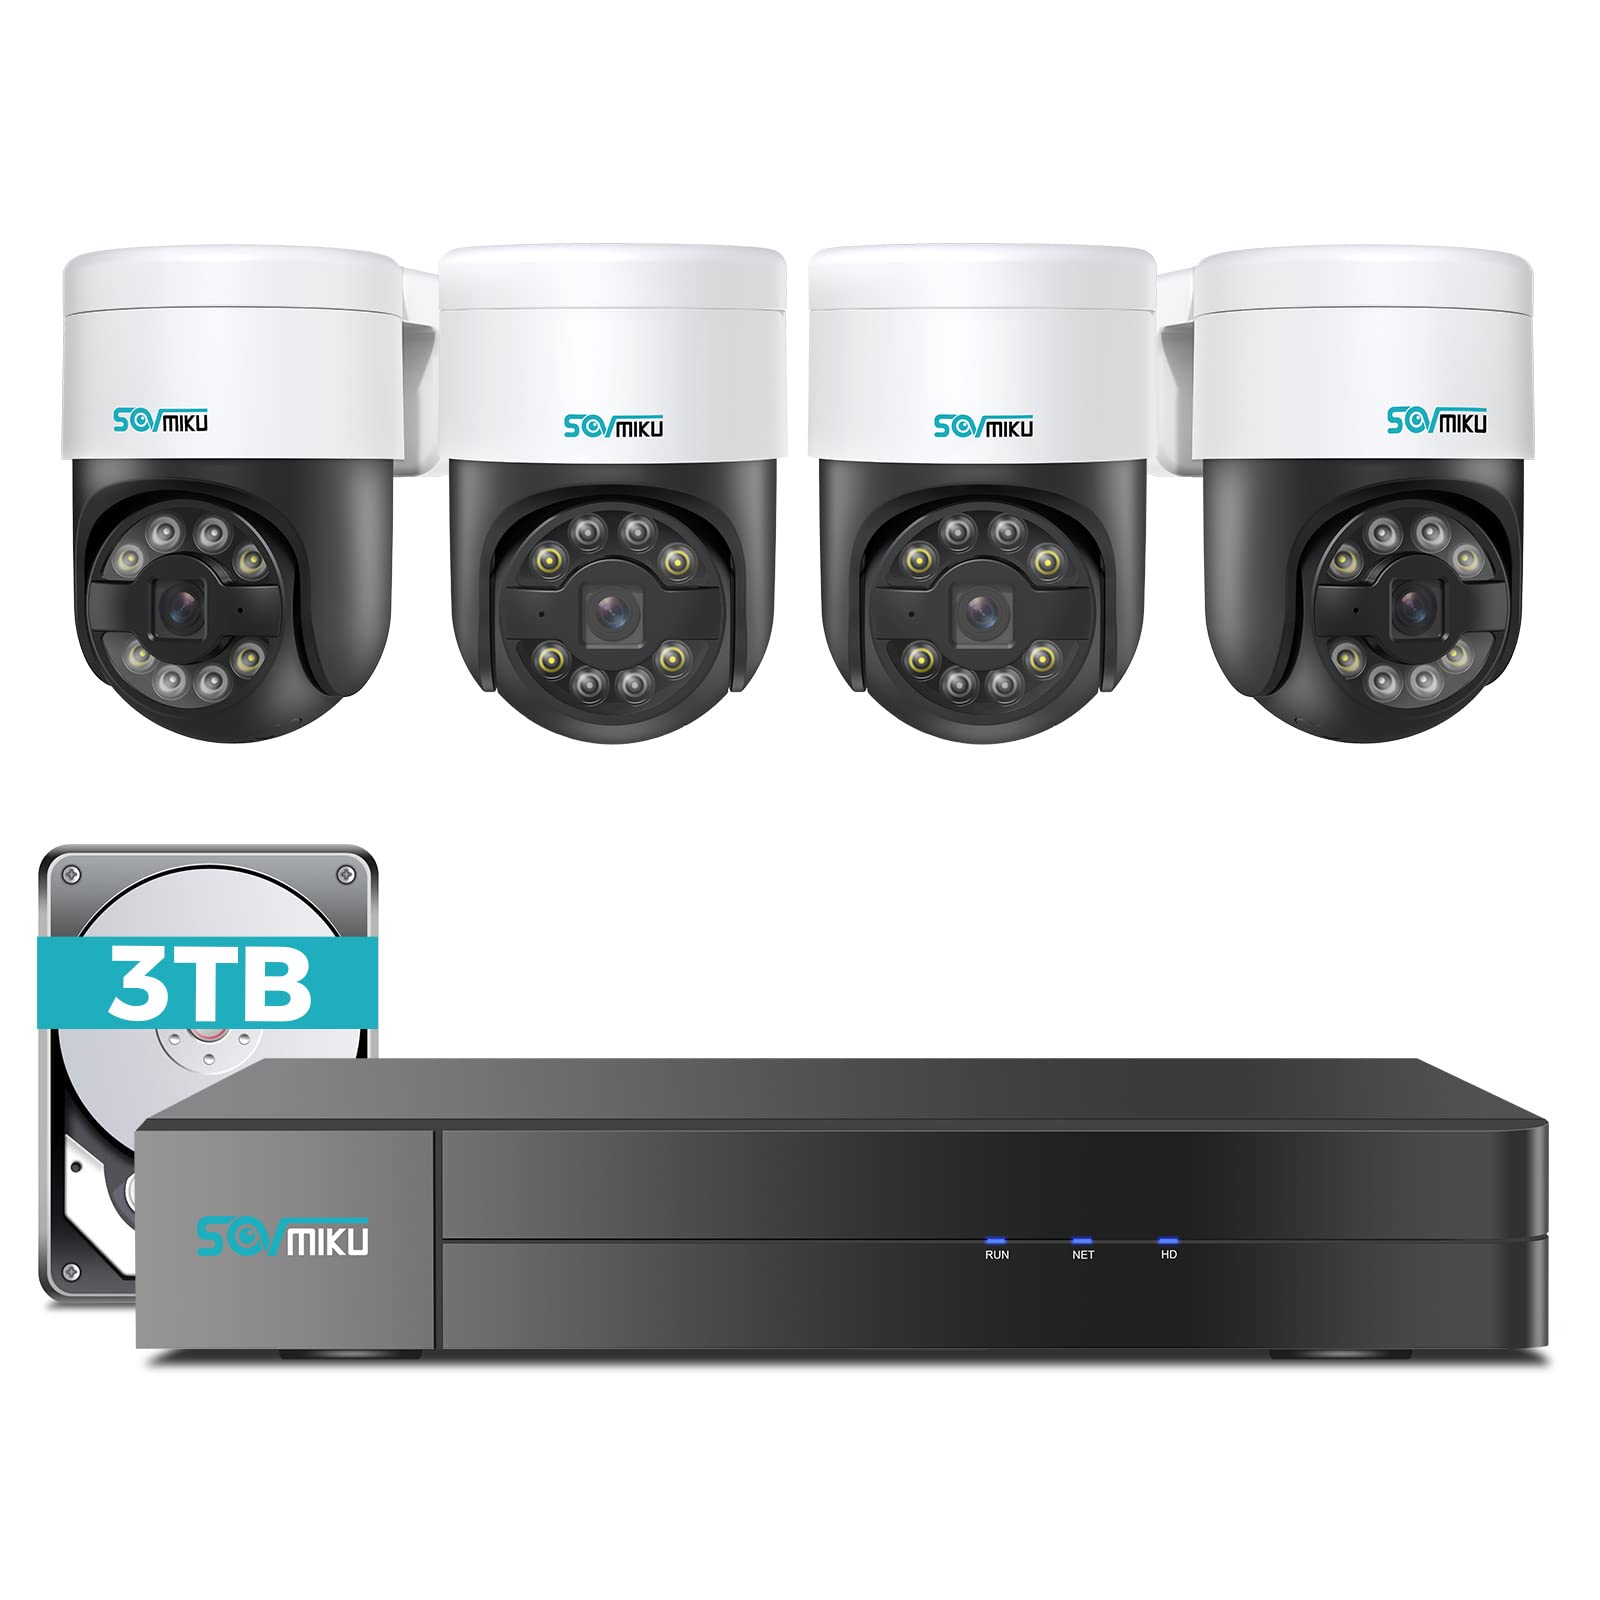
1.1 vaizdas: Baigtaview of the SOVMIKU 4K NVR 5MP PoE Camera System components.
2. Pakuotės turinys
Please check the package contents carefully upon opening. If any items are missing or damaged, contact SOVMIKU customer support.
- 1x 4K Network Video Recorder (NVR) with 3TB HDD
- 4x 5MP PoE Outdoor Security Cameras (PTZ, IP66 rated)
- 1x NVR maitinimo adapteris
- 1x USB pelė
- 1x HDMI laidas
- 4x Ethernet Cables (for cameras)
- 4 tvirtinimo varžtų rinkiniai
- 1x greitas pradžios vadovas
- 1x Warning Sticker Set

Image 2.1: Illustration of typical package contents for the SOVMIKU PoE Camera System.
3. Sąranka
3.1 Pradinė NVR sąranka
- Prijungti monitorių: Prijunkite NVR prie monitoriaus arba televizoriaus naudodami pridėtą HDMI kabelį.
- Prijungti pelę: Plug the USB mouse into a USB port on the NVR.
- Prijunkite tinklą: Prijunkite NVR prie maršrutizatoriaus naudodami Ethernet kabelį, kad galėtumėte pasiekti internetą ir valdyti nuotoliniu būdu. viewing.
- Prijunkite maitinimą: Prijunkite NVR maitinimo adapterį prie NVR, o tada į elektros lizdą. NVR įsijungs automatiškai.
- Initial Wizard: Follow the on-screen setup wizard to configure language, date/time, password, and network settings.

Image 3.1: Diagram showing NVR connections to monitor, mouse, network, and power.
3.2 Fotoaparato diegimas
- Montavimo vieta: Choose a suitable location for each camera, ensuring good coverage and a stable mounting surface. Consider the camera's IP66 rating for outdoor use.
- Gręžimo skylės: Use the provided mounting template to mark and drill holes for the camera base. Insert wall anchors if necessary.
- Saugi kamera: Attach the camera base to the mounting surface using the provided screws.
- Prijunkite PoE kabelį: Connect one end of an Ethernet cable to the camera's PoE port and the other end to an available PoE port on the NVR. The camera will power on and connect automatically.
- Sureguliuoti kampą: Loosen the adjustment screws on the camera to set the desired pan, tilt, and rotation angle. Tighten the screws once positioned.

Image 3.2: Step-by-step guide for mounting a PoE camera.
3.3 Mobiliosios programėlės sąranka
- Atsisiųsti programą: Ieškokite the official SOVMIKU security app in your device's app store (iOS or Android).
- Registruoti paskyrą: Open the app and register a new user account.
- Pridėti įrenginį: Follow the in-app instructions to add your NVR system. This typically involves scanning a QR code on the NVR or manually entering its device ID.
- Tiesiogiai View: Pridėjus, galite view live feeds from your cameras, access playback, and control PTZ functions remotely.
4. Sistemos valdymas
4.1 Tiesiogiai View ir Atkūrimas
- Tiesiogiai View: On the NVR monitor or mobile app, select the 'Live View' option to see real-time footagiš visų prijungtų kamerų.
- Atkūrimas: Access the 'Playback' menu to review įrašytas footage. You can search by date, time, and event type (e.g., motion detection, human detection).

4.1 pav.: pvz.ample of the mobile app's live view sąsaja.
4.2 PTZ Control and Two-Way Audio
- PTZ valdymas: For PTZ cameras, use the on-screen controls (NVR interface or mobile app) to pan (300°), tilt (90°), and zoom the camera lens.
- Dvipusis garsas: Select a camera with two-way audio support in live view. Use the microphone icon to speak through the camera and the speaker icon to listen to audio from the camera's location.
4.3 Žmonių aptikimas ir automatinis sekimas
- Žmogaus aptikimas: The system is configured to detect human shapes, reducing false alarms from pets or inanimate objects. Configure alert settings in the NVR or app.
- Automatinis stebėjimas: When human detection is triggered, the PTZ camera can automatically track the detected person's movement within its field of view. Enable this feature in the camera settings.
5. Priežiūra
- Kameros valymas: Reguliariai valykite fotoaparato objektyvus minkšta,amp šluoste, kad būtų užtikrinta aiški vaizdo kokybė. Nenaudokite stiprių cheminių medžiagų.
- Firmware atnaujinimai: Check the SOVMIKU official website or the mobile app for available firmware updates for your NVR and cameras. Keeping firmware updated ensures optimal performance and security.
- Kietojo disko valdymas: The 3TB HDD will automatically overwrite the oldest footage when full. You can configure recording schedules and retention policies in the NVR settings. Regularly back up important footage.
6. Problemų sprendimas
| Problema | Galima priežastis | Sprendimas |
|---|---|---|
| Monitoriuje nėra vaizdo rodymo | Loose HDMI cable, NVR not powered on, incorrect monitor input. | Check HDMI connection, ensure NVR power, select correct monitor input. |
| Kamera nerodo vaizdo įrašo | Loose Ethernet cable, camera not powered, faulty cable. | Check PoE Ethernet connection, try a different NVR PoE port or cable. |
| Nėra nuotolinės prieigos per programėlę | NVR not connected to internet, incorrect network settings, app not configured. | Ensure NVR is connected to router, verify network settings, re-add device in app. |
| PTZ control not working | Camera not a PTZ model, PTZ function disabled, network issue. | Confirm camera model, enable PTZ in settings, check network stability. |
7. Specifikacijos
- NVR kanalai: 8-channel (supports up to 8 cameras)
- Vaizdo įrašo raiška: Up to 4K (NVR), 5MP (Cameras)
- Saugykla: 3 TB standusis diskas (iš anksto įdiegtas)
- Kameros tipas: PoE PTZ (Pan 300°, Tilt 90°)
- Kameros ypatybės: Human Detection, Auto Tracking, 2-Way Audio
- Atsparus oro sąlygoms įvertinimas: IP66 (kameros)
- Ryšys: Ethernet (PoE), HDMI, USB
- Pakuotės matmenys: 16.5 x 14.5 x 12.5 colio
- Prekės svoris: 18.96 svaro
8. Garantija ir palaikymas
SOVMIKU products typically come with a standard manufacturer's warranty. Please refer to the warranty card included in your package or visit the official SOVMIKU websvetainėje, kurioje pateikiamos išsamios garantijos sąlygos.
For technical support, troubleshooting assistance, or warranty claims, please contact SOVMIKU customer service through their official websvetainėje arba kontaktinę informaciją, pateiktą jūsų produkto dokumentuose.
Websvetainė: www.sovmiku.com (Example URL, please refer to actual product documentation)
El. paštas: support@sovmiku.com (Example Email, please refer to actual product documentation)


