Įvadas
Welcome to the user manual for your CYCPLUS T2 Smart Bike Resistance Trainer. This manual provides essential information for setting up, operating, and maintaining your trainer to ensure a safe and effective indoor cycling experience. The T2 trainer features a high-precision brushless motor, dual-mode BLE/ANT+ connectivity, virtual shifting support, and realistic gradient simulation.
1. Produktas baigtasview ir komponentai
Familiarize yourself with the components included with your CYCPLUS T2 trainer.
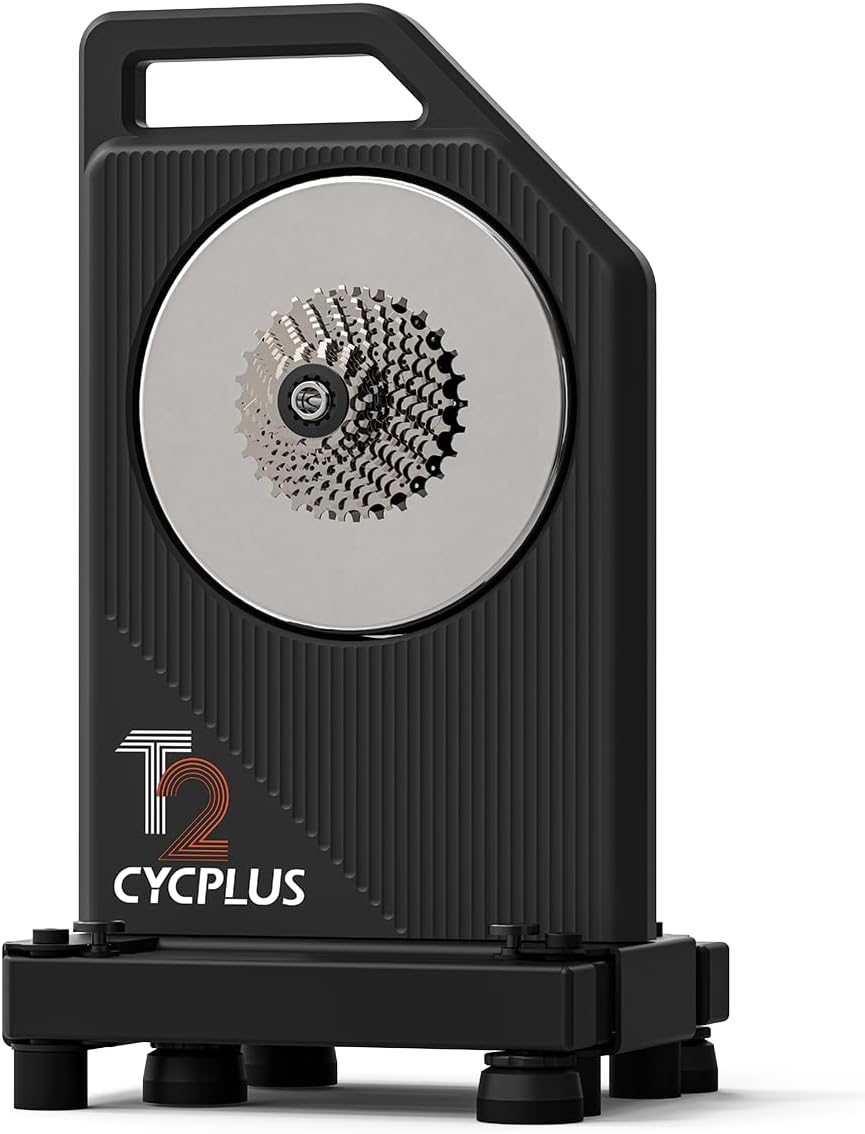
Image 1.1: The CYCPLUS T2 Smart Bike Resistance Trainer with its pre-installed cassette.
Pakavimo sąrašas:
- CYCPLUS T2 Trainer (1)
- Pre-installed Cassette (11-speed Shimano type)
- AC adapter and cable (1)
- Thru-axle adapters (R and L, pre-installed)
- Quick release adapters (R and L)
- 17mm Wrench (for thru-axle adapter-R)
- H5 Allen key (for quick release adapter-R)
- 8-10 speed cassette spacer
- Cassette adjustment spacers (7x)
- Disc brake spacer
- Minkštas kilimėlis (1)
- Vartotojo vadovas (1)

Image 1.2: Detailed diagram of all included components in the CYCPLUS T2 package.
2. Sąranka ir diegimas
2.1 Unfolding the Trainer Legs
To prepare the trainer for use, unfold its legs for stability.
- Press and hold the lock latch on one leg.
- Unfold the leg until you hear a click, indicating it is securely locked in place.
- Pakartokite kitai kojai.
Video 2.1: Quick Release Frame Installation Tutorial. This video demonstrates how to unfold the trainer legs and install a bike with a quick-release skewer.
2.2 Installing Your Bike (Thru-Axle Frame)
Follow these steps to install a thru-axle road bike frame onto the trainer.
- Remove the pre-installed quick release lever and adapter from the trainer using the included #5 Allen key.
- Select the appropriate thru-axle adapter (142mm for road bikes, 148mm for mountain bikes) and install it with the correct hub width facing outwards.
- Shift your bike's chain to the smallest cog on its cassette. If doing this alone, raise the rear wheel and turn the crank to shift the chain to the smallest chainwheel.
- Toggle the rear derailleur and carefully remove the rear wheel from your bike.
- Align the bike chain with the smallest cog of the cassette on the T2 trainer.
- Mount the bike frame onto the T2 trainer, ensuring the spacing is aligned with the axle.
- Install the thru-axle through the bike frame and trainer, then secure it firmly.
- Gently shake the bike frame to confirm it is securely attached to the T2 trainer.
Video 2.2: Thru-Axle Frame Installation Tutorial. This video guides you through installing a thru-axle bike onto the CYCPLUS T2 trainer.
2.3 Adjusting Trainer Height
Adjust the trainer's feet to ensure stability and level positioning on your training surface.
- Rotate the foot to fit the cushioning mat (if used).
- Adjust the lock nut until the foot is fixed at the desired height. The maximum adjustable height is 16mm.

Image 2.3: Close-up of the adjustable feet on the CYCPLUS T2 trainer, showing how to rotate and fix them for stability.
3. Naudojimo instrukcijos
3.1 Connectivity and App Usage
The CYCPLUS T2 trainer supports dual-mode BLE/ANT+ connectivity, allowing it to connect with various cycling applications and devices.
- Download the CYCPLUS APP from your device's app store (App Store, Google Play).
- Open the CYCPLUS APP and select your T2 cycling trainer to connect.
- Once connected, you can adjust various parameters in the settings, such as body weight, rider weight, chain drive coefficient, and downhill coefficient, for a personalized and realistic training experience.
- You can also reset personal data (mileage/duration) within the app. Note that the system's cumulative mileage cannot be reset.
- Enter exercise mode to train with fixed power or fixed gradient by sliding the respective controls.
Video 3.1: CYCPLUS Application User Tutorial. This video demonstrates how to connect the trainer to the CYCPLUS app and adjust settings.

Image 3.1: The CYCPLUS T2 trainer showing compatibility with various cycling applications like Zwift, Rouvy, and others.
3.2 Virtual Shifting
The T2 trainer supports virtual shifting for quiet, jerk-free transitions and seamless resistance control. This feature requires the CYCPLUS BC2 Shifter, sold separately, and is not available in ERG mode.

Image 3.2: Diagram illustrating virtual shifting functionality with the optional CYCPLUS BC2 Shifter.
3.3 Realistic Gradient Simulation
The trainer can simulate inclines up to 20%, automatically adjusting with your cycling apps for a true-to-life riding experience. When connected to an external power source, the motor neutralizes frictional resistance and simulates higher rotational inertia for enhanced realism during downhill scenarios.

Image 3.3: Visual representation of the T2 trainer's uphill and downhill simulation capabilities.
4. Priežiūra
Regular maintenance ensures the longevity and optimal performance of your CYCPLUS T2 trainer.
- Valymas: Wipe down the trainer regularly with a damp šluoste prakaitui ir dulkėms pašalinti. Venkite naudoti abrazyvinius valiklius ar tirpiklius.
- Saugykla: When not in use, store the trainer in a dry, cool place. Its compact, foldable design and oversized handle make it easy to move and store.
- Firmware atnaujinimai: Check the CYCPLUS app periodically for firmware updates to ensure your trainer has the latest features and performance improvements.
- Šilumos išsklaidymas: The T2 features a dual-fan cooling system for efficient heat dissipation. Ensure the vents are not obstructed during use.

Image 4.1: Illustration of the T2 trainer's dual-fan cooling system for rapid heat dissipation.
5. Problemų sprendimas
If you encounter any issues with your CYCPLUS T2 trainer, refer to the following common troubleshooting tips:
- Ryšio problemos: Ensure Bluetooth or ANT+ is enabled on your device. Restart both the trainer and your device. Check for app updates.
- Inaccurate Power Readings: Verify that the chain drive coefficient is correctly set in the CYCPLUS app. Ensure the trainer is on a stable, level surface.
- Neįprastas triukšmas: Check that all bike components (chain, derailleur) are properly aligned and lubricated. Ensure the trainer legs are fully unfolded and locked.
- Resistance Problems: Confirm the trainer is connected to a power source if using features that require external power (e.g., downhill simulation). Check app settings for power or gradient modes.
For further assistance, please contact CYCPLUS customer support.
6. Specifikacijos
| Funkcija | Specifikacija |
|---|---|
| Prekės ženklas | CYCPLUS |
| Modelio pavadinimas | T2 |
| Spalva | Juoda |
| Medžiaga | Alloy Steel, Metal, Plastic, Stainless Steel |
| Atsparumo mechanizmas | Elektromagnetinis |
| Maksimali galia | 2200W |
| Galios tikslumas | ±1 % |
| Max torque | 85 N·m |
| Max Gradient Simulation | 20 % |
| Ryšys | BLE 5.0 ir ANT+ |
| Triukšmo lygis | Mažiau nei 40 dB |
| Sulankstytas pėdsakas | 11.8 colio x 10.1 colio (300 mm x 257 mm) |
| Svoris | 38.1 svarai (17.3 kg) |
| Kasečių suderinamumas | 8-12 Speed HG Cassettes (XDR/XD Cassettes user-provided) |
| Ašies atrama | Thru-Axle: 12x142 mm, 12x148 mm; Quick Release: 5x130 mm, 5x135 mm |

Image 6.1: Comparison table of CYCPLUS smart bike trainers, including T2 specifications.
7. Informacija apie garantiją
The CYCPLUS T2 Smart Bike Resistance Trainer comes with a two-year warranty. Please retain your proof of purchase for warranty claims. For detailed warranty terms and conditions, refer to the official CYCPLUS websvetainėje arba susisiekite su klientų aptarnavimo tarnyba.
8. Pagalba klientams
For any questions, technical support, or service inquiries regarding your CYCPLUS T2 trainer, please visit the official CYCPLUS websvetainėje arba susisiekite su jų klientų aptarnavimo skyriumi. Kontaktinę informaciją paprastai galite rasti ant produkto pakuotės arba oficialiame prekės ženklo puslapyje. websvetainę.
Taip pat galite apsilankyti CYCPLUS Store on Amazon daugiau informacijos apie produktą ir pagalbos išteklių.


